
Harness - main - DVD unit (page 4 of 4)
- Make
- Land Rover
- Model
- Discovery II
- Section
- REPAIRS
HARNESSES
REPAIRS 86-7-31
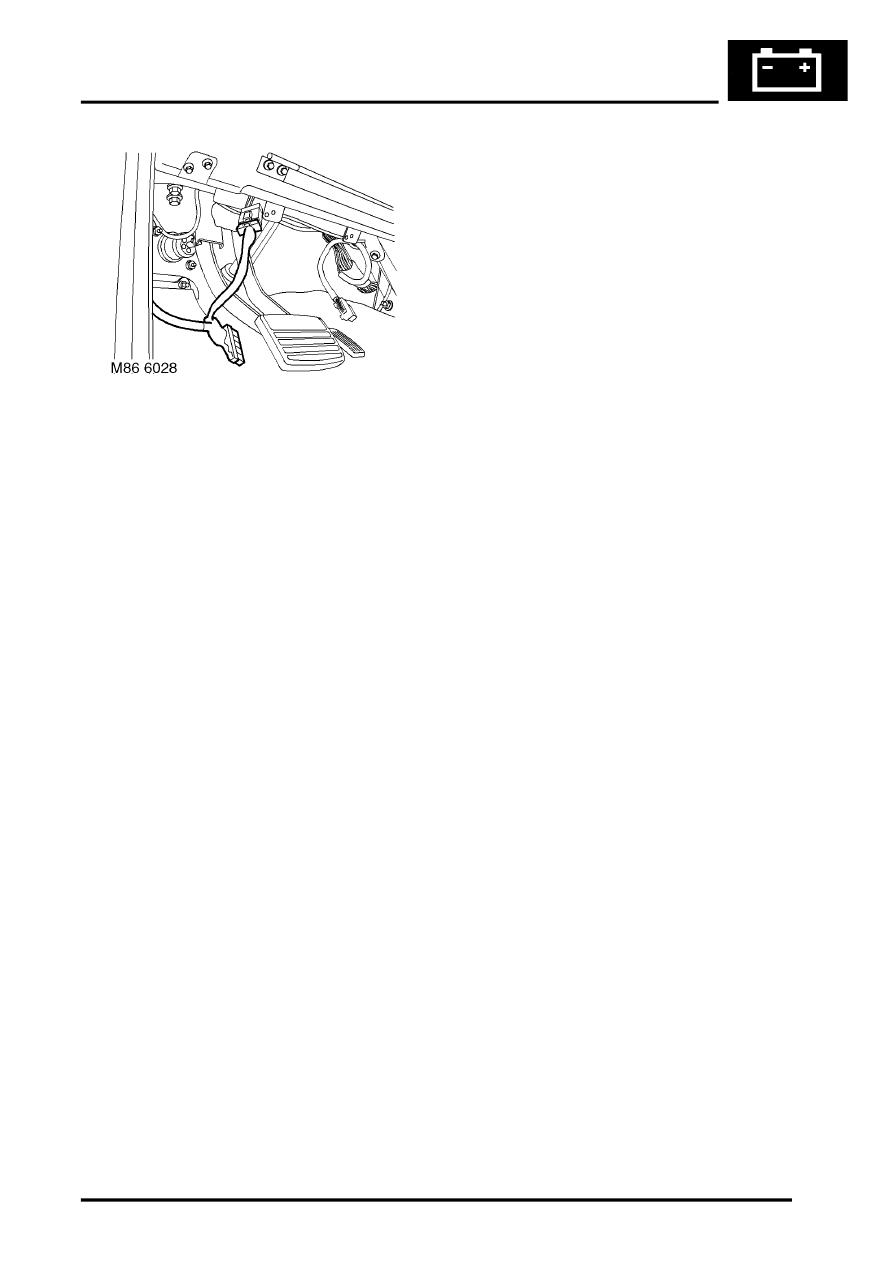
17. Disconnect DVD main harness multiplug from
vehicle fuse box link harness.
18. Remove DVD main harness from above
headlining and from fascia.
Refit
1. Fit DVD main harness to fascia and above
headlining.
2. Connect DVD main harness multiplug to
vehicle fuse box link harness.
3. Secure harness behind clamps at 'A' post and
multiplug to DVD unit mounting bracket.
4. Fit upper finisher to 'B' post.
5. Fit 'A' post lower finisher and secure with
fixings.
6. Fit seals to front and rear door apertures.
7. Fit screws to secure stowage pocket.
8. Position sun visor and connect multiplug.
9. Fit sun visor and secure with screws.
10. Fit finisher securing clips to 'A' post.
11. Position 'A' post upper finisher and connect
tweeter multiplug.
12. Fit 'A' post upper finisher.
13. Fit grab handles, tighten screws and fit screw
covers.
14. Fit DVD player unit.
REPAIRS, DVD screen/player unit.
15. Fit CD switch box.
REPAIRS, Switch box - CD/DVD player.
16. Connect battery earth lead, fit and secure
battery cover.
Parts & tools for this job Staging For Land Rover Discovery
- TOOLDigital multimeterSearch: automotive digital multimeter
- PARTAssorted fuse kitSearch: car fuse assortment kit
- TOOLWire crimper and connector kitSearch: wire crimper connector kit
Links open Amazon search results in a new tab. As an Amazon Associate I earn from qualifying purchases.