
Glass/sealing rubber - tail door
- Make
- Land Rover
- Model
- Discovery II
- Section
- REPAIRS › Glass/sealing rubber - tail door
SCREENS
REPAIRS
76-4-1
SCREENS
REPAIRS
Glass/sealing rubber - tail door
$% 76.31.22
Remove
1. Remove spare wheel from rear door.
2. Remove centre high mounted stop lamp.
LIGHTING, REPAIRS, Lamp - stop -
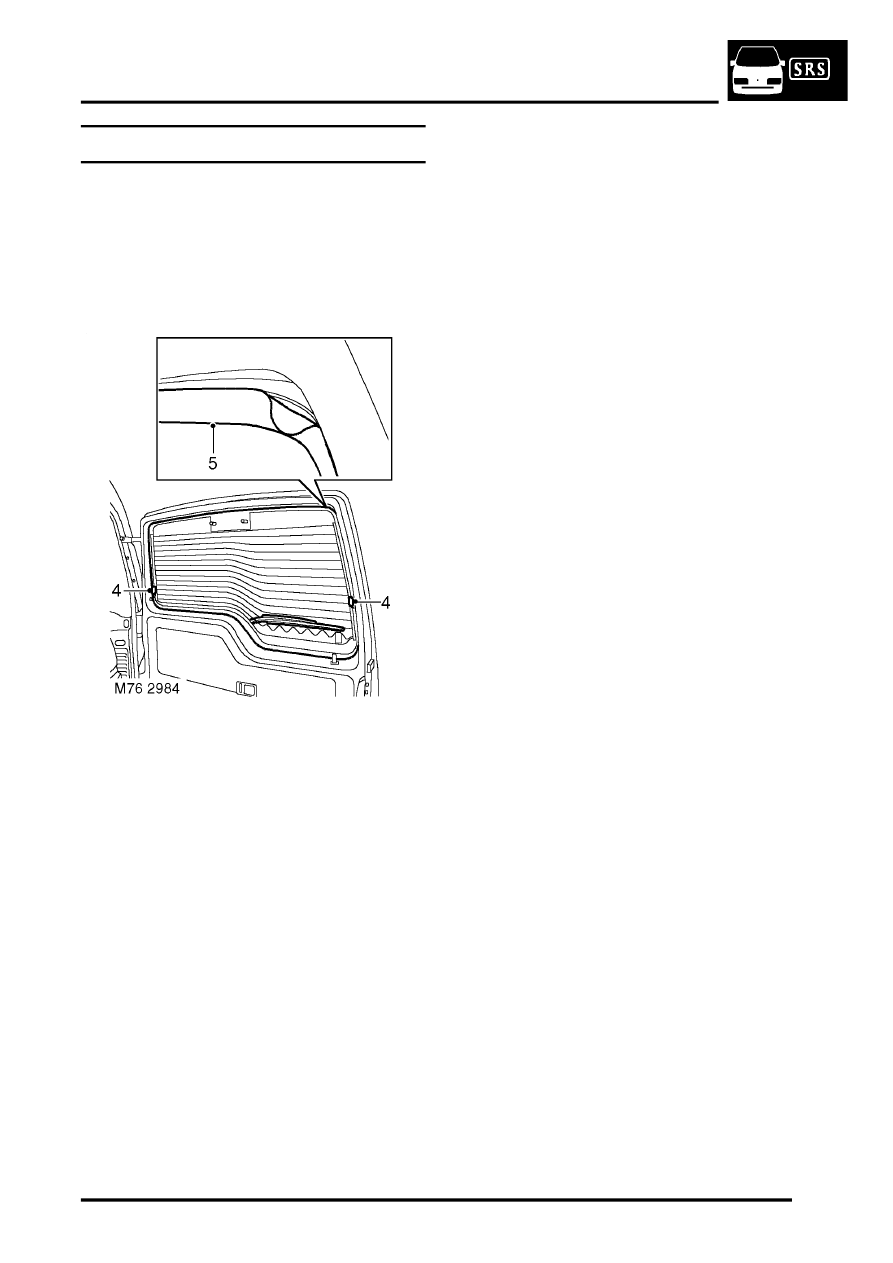
3. Pull the rear wiper arm away from the glass.
4. Disconnect leads from rear window heater.
5. Ease glass sealing rubber from tail door flange
and with assistance, from inside push the glass
and sealing rubber out.
6. Remove sealing rubber from glass.
Refit
1. Thoroughly clean the tail door glass mounting
flange.
2. Clean glass and fit sealing rubber. Ensure
sealing rubber is fully located onto glass.
3. Fit a draw cord into the outside groove of the
sealing rubber with cord ends situated on top
corner of bend at bottom of glass.
4. To aid assembly, lubricate the tail door glass
mounting flange with liquid soap.
5. Position the assembled glass and rubber to
outside of flange.
6. With assistance from second operator pushing
glass into door, hold one end of cord and pull
the other end carefully around the aperture,
easing the rubber seal over the flange.
7. Connect leads to rear window heater.
8. Fit centre high mounted stop lamp.
LIGHTING, REPAIRS, Lamp - stop -
9. Fit rear wiper onto glass.
10. Fit spare wheel.
Parts & tools for this job Staging For Land Rover Discovery
- TOOLTrim removal tool kitSearch: trim removal tool kit
- PARTTouch-up paintSearch: Land Rover touch up paint
- PARTPanel clip assortmentSearch: Land Rover panel clips assortment
Links open Amazon search results in a new tab. As an Amazon Associate I earn from qualifying purchases.