
Damper - front
- Make
- Land Rover
- Model
- Discovery II
- Section
- REPAIRS › Damper - front
FRONT SUSPENSION
REPAIRS
60-35
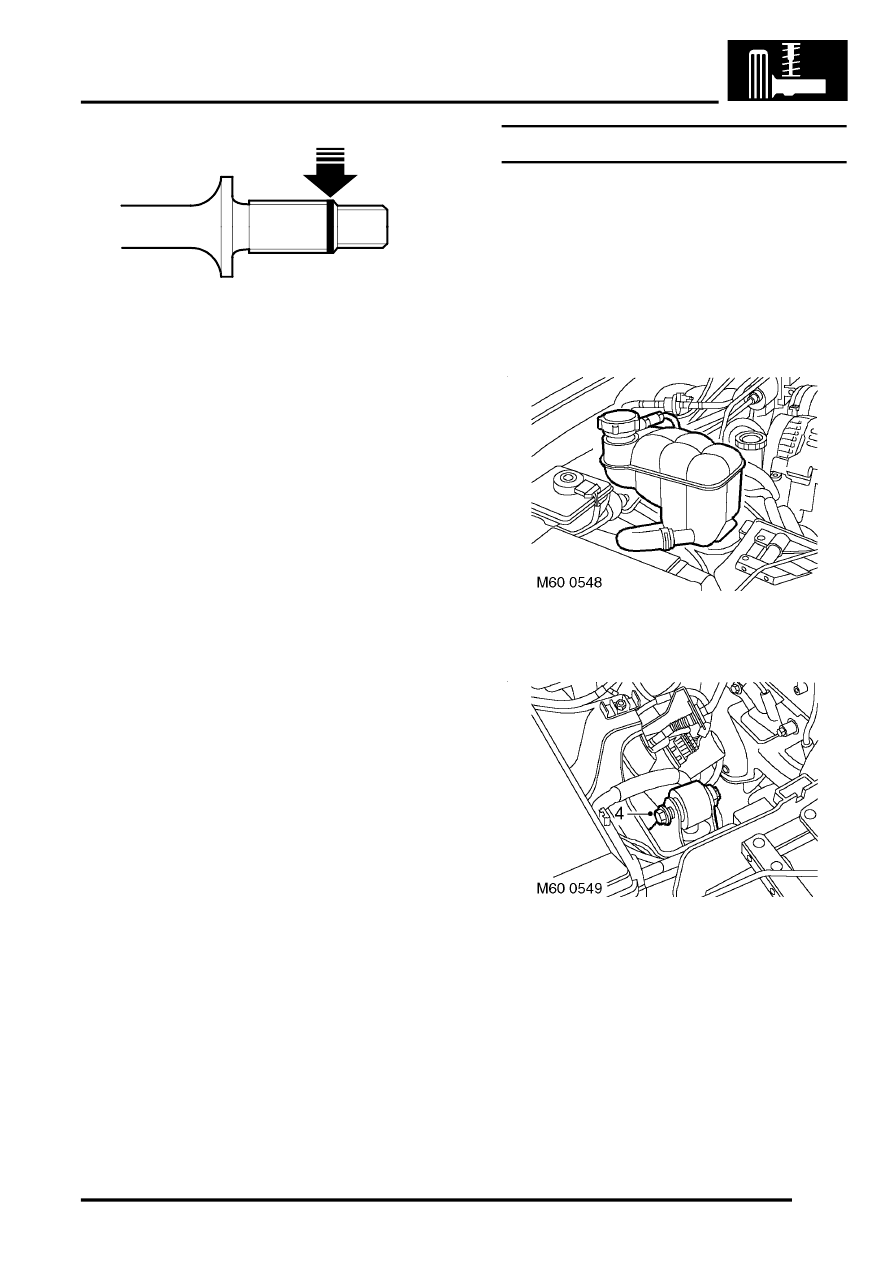
6. Apply a 3 mm (0.125 in) wide bead of sealant,
Part No. STC 50554 around drive shaft
circumference, as illustrated.
7. Ensure ABS harness is located in cut out in
steering knuckle.
8. Fit wheel hub to drive shaft and align steering
knuckle. The sealant will smear along the
length of the splines as the wheel hub is fitted
to the drive shaft.
9. Fit wheel hub bolts and tighten to 100 Nm (74
lbf.ft).
10. Fit new drive shaft nut and lightly tighten.
11. Fit front brake disc.
12. With assistance, final tighten drive shaft nut to
490 Nm (360 lbf.ft). Stake drive shaft nut. The
drive shaft nut must be tightened before
sealant has cured.
13. Secure ABS sensor harness to brackets and
secure grommet to inner wing.
14. Fit road wheel and tighten nuts to 140 Nm (103
lbf.ft).
15. Remove stand(s) and lower vehicle.
16. Connect ABS sensor multiplug.
Damper - front
$% 60.30.02
Remove
1. Raise front of vehicle.
WARNING: Do not work on or under a
vehicle supported only by a jack. Always
support the vehicle on safety stands.
2. Remove road wheel.
3. RH damper: Release coolant reservoir and
position aside.
4. Loosen through bolt securing damper to turret.
WARNING: Make sure the axle cannot move
when the damper is disconnected. The
damper limits the downward movement of
the axle. If the axle is not restrained,
disconnecting the damper will allow
unrestricted movement which may cause
personal injury or damage to equipment.
M51 0058
Parts & tools for this job Staging For Land Rover Discovery
- TOOLCoil spring compressorSearch: coil spring compressor
- TOOLBall joint separatorSearch: ball joint separator
- PARTFront shock absorbersSearch: Land Rover Discovery front shock absorbers
Links open Amazon search results in a new tab. As an Amazon Associate I earn from qualifying purchases.