
Harness - main
- Make
- Land Rover
- Model
- Discovery II
- Section
- REPAIRS › Harness - main
HARNESSES
REPAIRS 86-7-15
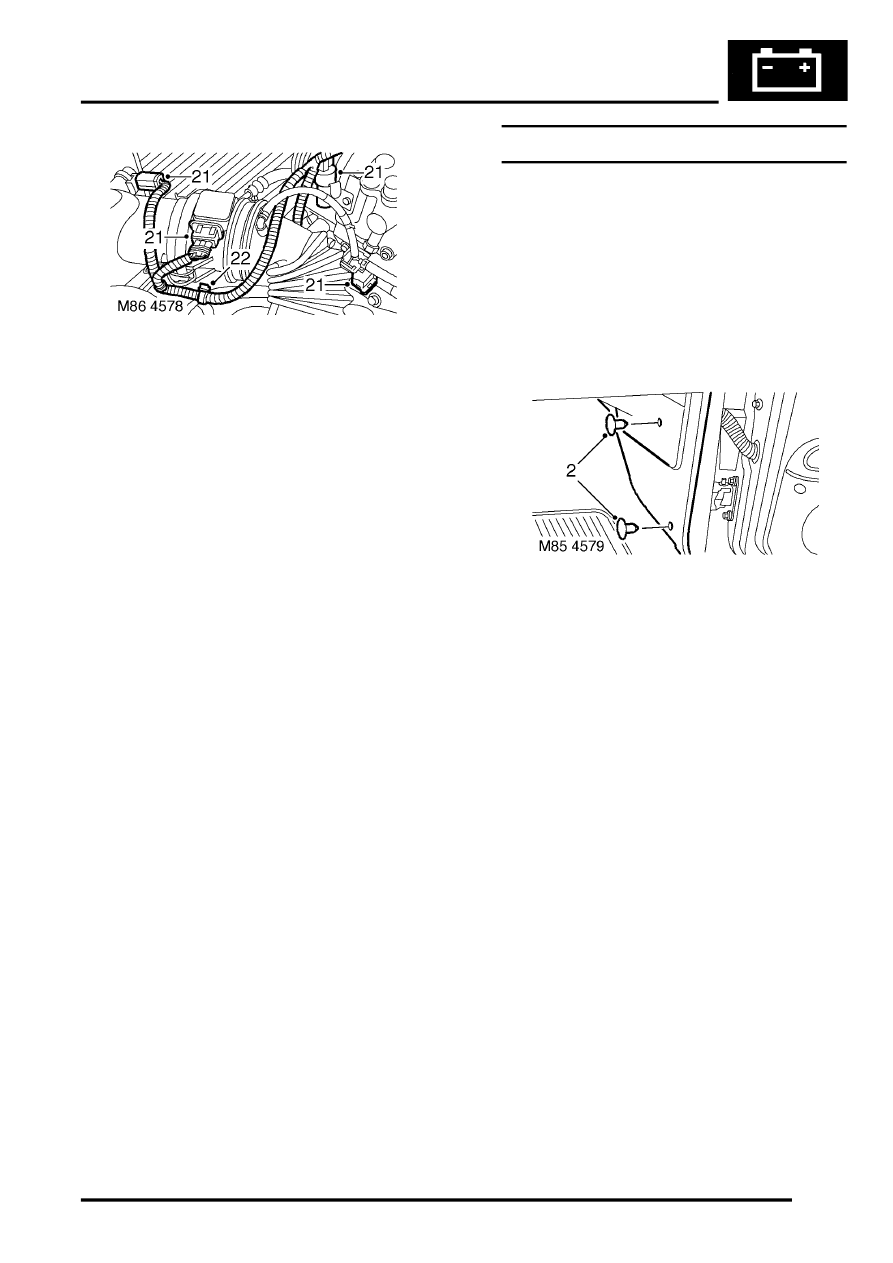
21. Disconnect multiplugs from A/C compressor,
turbocharger solenoid valve, AAP sensor and
MAF sensor.
22. Release harness clips from coolant hose and
PAS hose.
23. Note the route of the engine harness, release
from underneath of inlet manifold and remove
from engine.
Refit
1. Position harness on engine.
2. Connect multiplugs to A/C compressor,
turbocharger solenoid valve, AAP and MAF
sensors.
3. Position harness clips to coolant and PAS
hoses.
4. Connect multiplug to ECT sensor.
5. Position harness to front of cylinder head and
tighten bolts to 10 Nm (7 lbf.ft).
6. Connect injector multiplug.
7. Connect multiplug and position battery cable to
alternator and tighten nut.
8. Connect multiplug to fuel temperature sensor.
9. Connect multiplug to MAP sensor.
10. Connect glow plugs.
11. Connect CKP sensor multiplug.
12. Connect Lucar to starter solenoid.
13. Connect battery lead to starter solenoid and
tighten nut to 10 Nm (7 lbf.ft).
14. Position harness clip to coolant pipe.
15. Locate harness over bell housing and connect
multiplug to oil pressure switch.
16. Connect 2 multiplugs to EGR solenoids.
17. Connect engine harness multiplug to ECM and
main harness.
18. Connect engine harness multiplugs to fuse
box.
19. Position glow plug lead to fuse box and tighten
bolt to 3.5 Nm (2.6 lbf.ft).
20. Position battery and alternator leads to fuse
box and tighten bolts to 6 Nm (4.4 lbf.ft).
21. Fit engine compartment fuse box cover.
22. Fit battery carrier.
23. Fit engine acoustic cover.
Harness - main
$% 86.70.07
Remove
1. Remove heater assembly.
REPAIRS, Heater assembly - models with
air conditioning.
REPAIRS, Heater assembly - models
without air conditioning.
2. Remove 4 clips securing LH and RH trim
panels to lower 'A' post.
3. Remove both lower 'A' post trim panels.
4. Remove air filter assembly.
V8, REPAIRS, Air cleaner assembly.
5. Remove battery tray.
6. Remove front bumper.
Parts & tools for this job Staging For Land Rover Discovery
- TOOLDigital multimeterSearch: automotive digital multimeter
- PARTAssorted fuse kitSearch: car fuse assortment kit
- TOOLWire crimper and connector kitSearch: wire crimper connector kit
Links open Amazon search results in a new tab. As an Amazon Associate I earn from qualifying purchases.