
Compressor unit - air - SLS (page 2 of 2)
- Make
- Land Rover
- Model
- Discovery II
- Section
- REPAIRS
REAR SUSPENSION
64-36
REPAIRS
5. Disconnect inlet and exhaust pipes.
CAUTION: Always fit plugs to open
connections to prevent contamination.
6. Disconnect multiplugs from air valves, exhaust
valve and compressor.
7. Release and disconnect compressor multiplug
from casing.
8. Remove air compressor unit from vehicle.
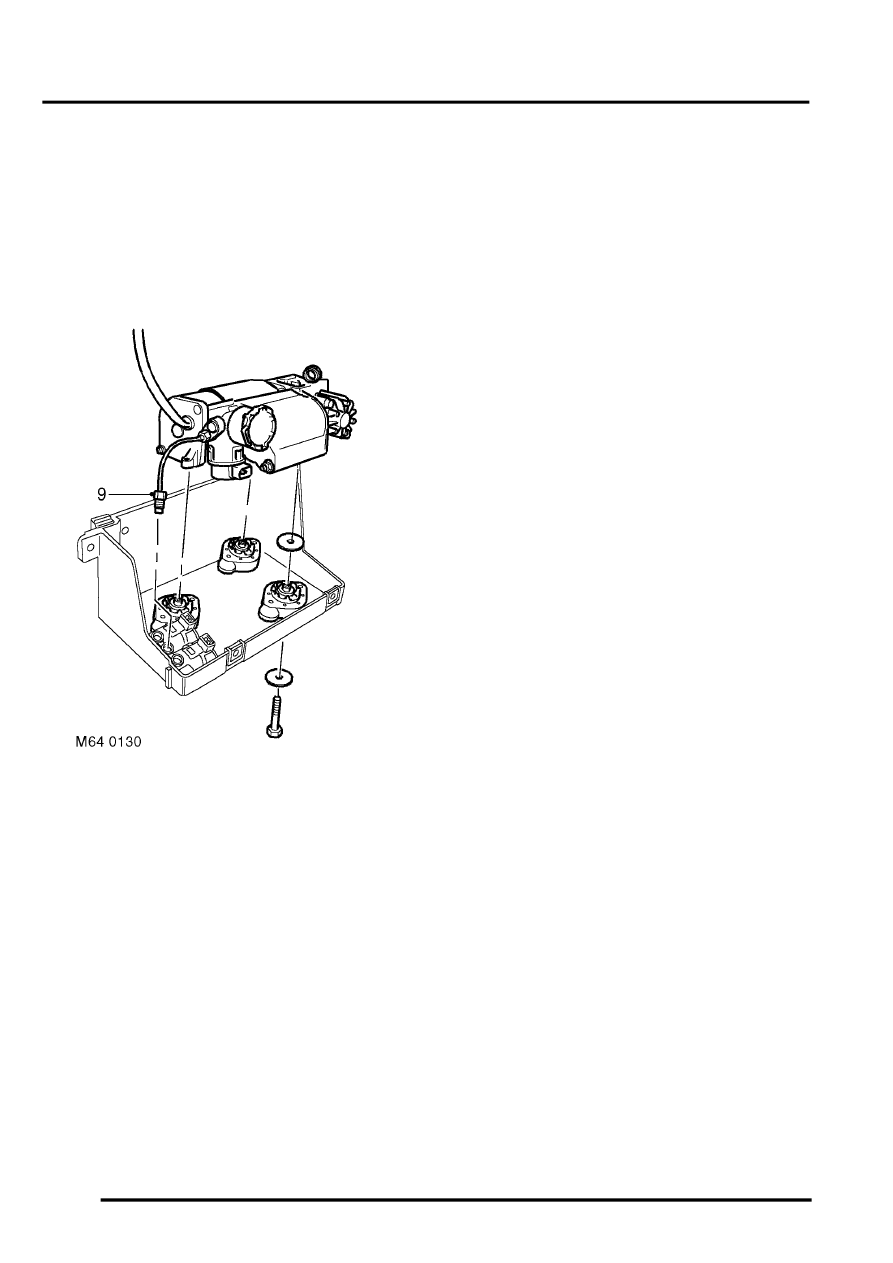
9. Release supply/exhaust pipe.
CAUTION: Always fit plugs to open
connections to prevent contamination.
10. Remove 3 bolts securing compressor to
casing. Remove compressor and collect
mounting washers.
Refit
1. Locate mounting washers and position
compressor in casing.
2. Apply sealant, Part No. STC 50552 to
compressor securing bolts. Fit bolts and tighten
to 7 Nm (5.2 lbf.ft).
3. Connect compressor multiplug to casing.
4. Connect supply/exhaust pipe.
5. Position air compressor unit on support block,
connect inlet and exhaust pipes.
6. Connect multiplugs to air valves, exhaust valve
and compressor.
7. Connect pipes to air valves.
8. Position air compressor unit to chassis and
engage casing in retaining lugs. Fit air
compressor unit securing bolts and tighten to
25 Nm (18 lbf.ft).
9. Ensure pipes are located in cut outs in casing.
10. Position air compressor unit cover and lock
fasteners.
11. Repressurise SLS air system using TestBook.
WARNING: Eye protection must be worn
during the repressurisation procedure.
Parts & tools for this job Staging For Land Rover Discovery
- TOOLCoil spring compressorSearch: coil spring compressor
- TOOLBall joint separatorSearch: ball joint separator
- PARTRear shock absorbersSearch: Land Rover Discovery rear shock absorbers
Links open Amazon search results in a new tab. As an Amazon Associate I earn from qualifying purchases.