
Brake system bleeding (BRAKES)
- Make
- Land Rover
- Model
- Discovery II
- Section
- ADJUSTMENTS › Brake system bleeding
BRAKES
70-30
ADJUSTMENTS
Brake system bleeding
$% 70.25.02
Bleeding of the brake system can be carried out
using the procedures given on TestBook, or by
following the manual procedure given below.
WARNING: If any components upstream of brake
modulator, including the modulator itself are
replaced, the brake system must be bled using
the procedure on TestBook/T4, to ensure that all
air is expelled from the new component(s).
WARNING: Do not allow brake fluid to come into
contact with eyes or skin.
Bleed
NOTE: This procedure covers bleeding the
complete system, but where only the primary or
secondary circuit have been disturbed in
isolation, it should only be necessary to bleed
that circuit. Partial bleeding of the hydraulic
system is only permissible if a brake pipe or
hose has been disconnected with only minor
loss of fluid.
1. Do not allow fluid level in master cylinder to fall
below 'MIN' mark during bleeding.
2. Do not fill reservoir above 'MAX' level.
3. Raise front and rear of vehicle.
WARNING: Do not work on or under a
vehicle supported only by a jack. Always
support the vehicle on safety stands.
4. Check all pipe and hose connections are tight
and there are no signs of leakage.
5. Top-up fluid level in brake reservoir to 'MAX'
mark.
WARNING: Do not allow dirt or foreign
liquids to enter the reservoir. Use only new
DOT 4 brake fluid from airtight containers.
Do not mix brands of brake fluid as they
may not be compatible.
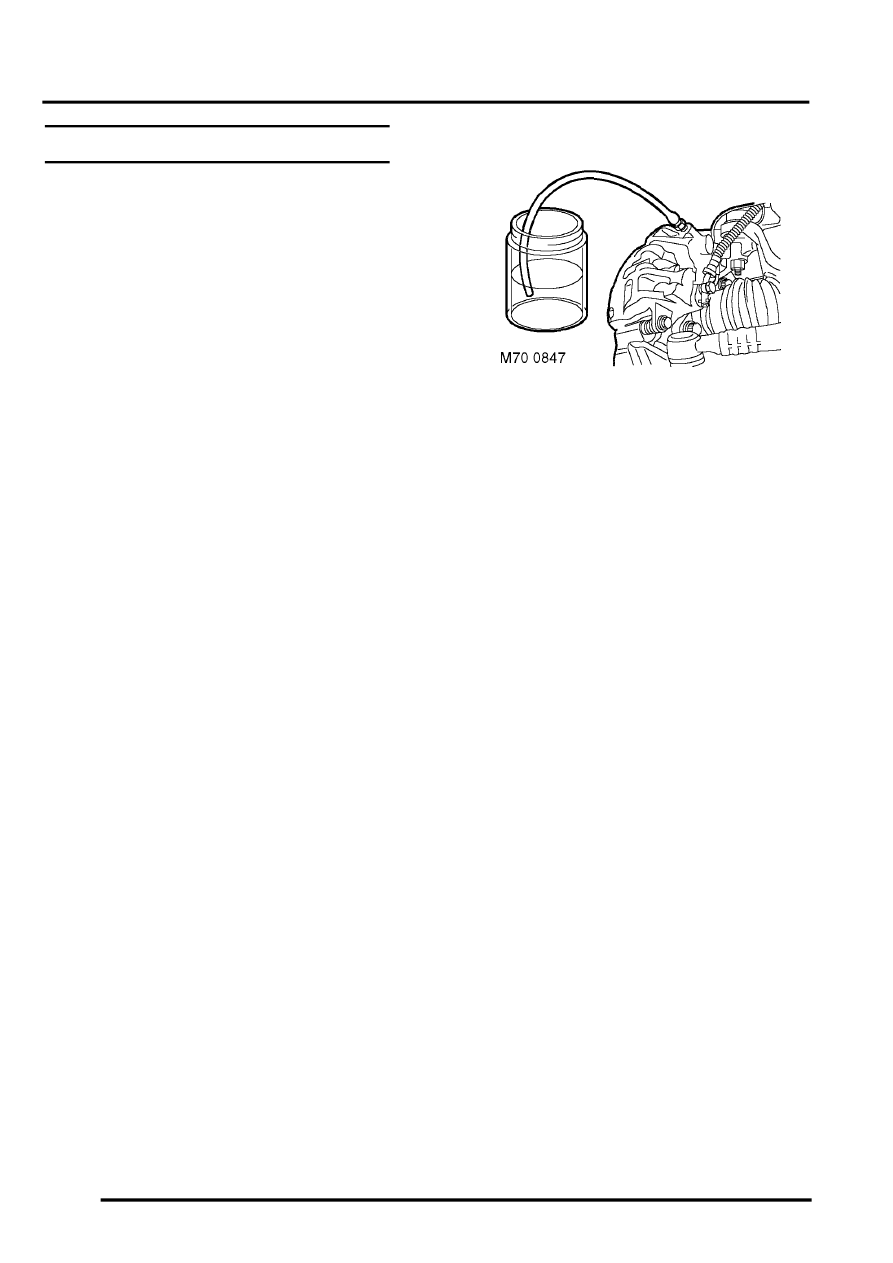
6. Attach bleed tube to the bleed screw on front
brake caliper on the passenger side, submerge
free end in a clear container containing brake
fluid.
7. Apply pressure to brake pedal several times,
then apply steady pressure.
8. Loosen bleed screw to release brake fluid and
air. Allow pedal to return unassisted.
9. Depress brake pedal steadily through its full
stroke and allow to return unassisted. Repeat
procedure until a flow of clean air-free fluid is
purged into container then, whilst holding
pedal at end of downward stroke, tighten brake
caliper bleed screw to 10 Nm (7 lbf.ft).
CAUTION: Ensure the fluid in the reservoir
is maintained between the minimum and
maximum levels throughout the bleed
procedure using new brake fluid.
10. Top-up brake fluid level to 'MAX' mark.
Parts & tools for this job Staging For Land Rover Discovery
- PARTBrake padsSearch: Land Rover Discovery brake pads
- TOOLBrake bleeder kitSearch: one man brake bleeder kit
- FLUIDBrake fluidSearch: brake fluid
Links open Amazon search results in a new tab. As an Amazon Associate I earn from qualifying purchases.