
Bushes - rear subframe
- Make
- Land Rover
- Model
- Range Rover L322 Range Rover Service Procedures
- Section
- REPAIRS › Bushes - rear subframe
REAR SUSPENSION
REPAIRS
64-21
18. Remove 2 bolts securing upper arm.
19. Remove upper arm.
Refit
1. Clean upper arm bush locations.
2. Fit upper arm, fit bolts but do not tighten at this
stage.
CAUTION: Nuts and bolts must be tightened
with vehicle at normal ride height.
3. Align damper to lower arm, fit through bolt and
tighten to 110 Nm (81 lbf.ft).
4. Tighten bolts securing upper arm to subframe
to 165 Nm (121 lbf.ft).
5. Fit washers to subframe bushes.
6. Raise subframe, fit bolts securing subframe to
body and tighten to 165 Nm (122 lbf.ft).
7. Pressurise system sufficiently to locate spring
top mounting and fit clip.
8. Align hub to upper arm, fit new bolt, align
eccentric to reference mark and lightly tighten.
9. Position handbrake cable bracket to upper arm,
fit Allen screw and tighten to 5 Nm (3.7 lbf.ft).
10. Fit Allen screws securing brake pipe to upper
arm and tighten to 5 Nm (3.7 lbf.ft).
11. Secure ABS sensor lead.
12. Pressurise suspension.
ADJUSTMENTS, Suspension - depressurise
and repressurise.
13. Fit road wheel and tighten nuts to 140 Nm (103
lbf.ft).
14. Lower vehicle.
15. Fit exhaust system.
- Td6, REPAIR, Exhaust system and
mountings.
16. Check wheel alignment.
17. Tighten bolt securing upper arm to hub to 165
Nm (121 lbf.ft).
Bushes - rear subframe
$% 64.35.86
Bushes must be changed in pairs, front LH and RH,
or rear LH and RH. Not diagonally or individually.
Remove
1. Position vehicle on lift.
2. Raise rear of vehicle.
WARNING: Do not work on or under a
vehicle supported only by a jack. Always
support the vehicle on safety stands.
3. Remove rear road wheels.
4. Depressurise suspension.
ADJUSTMENTS, Suspension - depressurise
and repressurise.
5. Remove rear propeller shaft.
DRIVESHAFTS, REPAIRS, Propeller
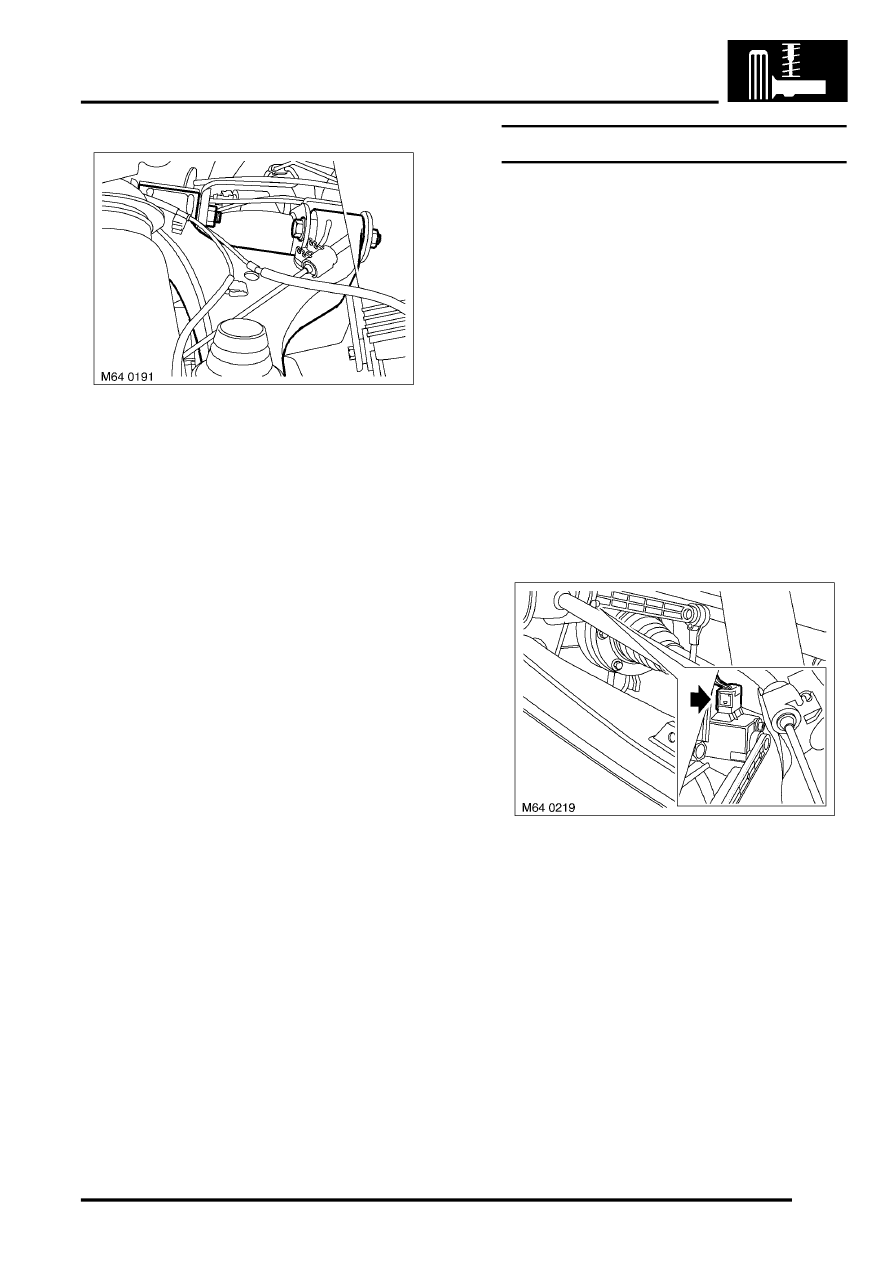
6. Disconnect multiplugs from rear ride height
sensors.
Parts & tools for this job Staging For Land Rover Range Rover
- TOOLCoil spring compressorSearch: coil spring compressor
- TOOLBall joint separatorSearch: ball joint separator
- PARTRear shock absorbersSearch: Land Rover Range Rover rear shock absorbers
Links open Amazon search results in a new tab. As an Amazon Associate I earn from qualifying purchases.