
Arm assembly - lower
- Make
- Land Rover
- Model
- Range Rover L322 Range Rover Service Procedures
- Section
- REPAIRS › Arm assembly - lower
REAR SUSPENSION
64-18
REPAIRS
Arm assembly - lower
$% 64.35.54
Do not depressurise air suspension system before
raising vehicle
Remove
1. Raise rear of vehicle and support under body.
WARNING: Do not work on or under a
vehicle supported only by a jack. Always
support the vehicle on safety stands.
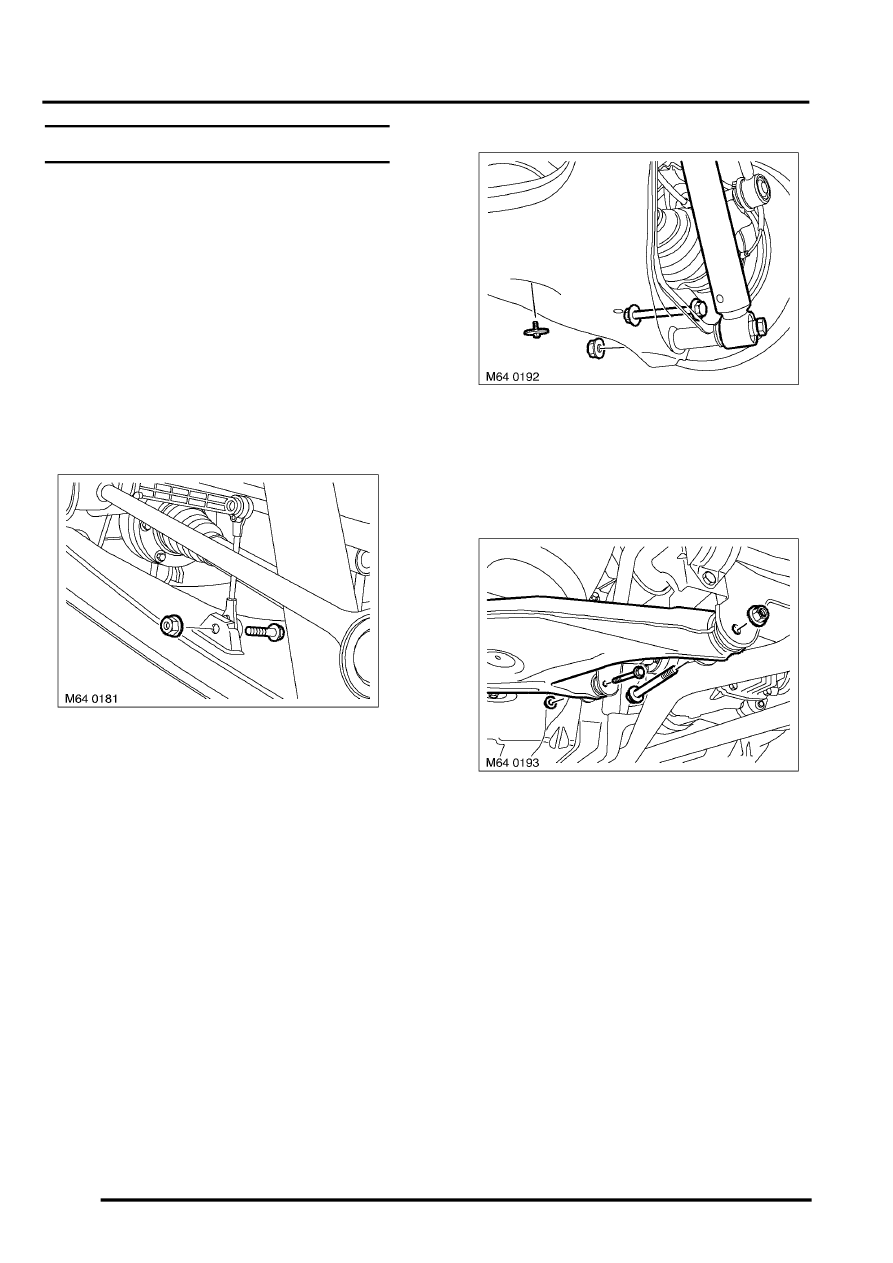
2. Remove anti-roll bar link.
REAR SUSPENSION, REPAIRS, Link
3. Remove nut and bolt securing sensor link to
lower arm.
4. Position jack to support the lower arm.
5. Depressurise rear suspension.
ADJUSTMENTS, Suspension - depressurise
and repressurise.
6. Remove bolt securing damper to lower arm.
7. Release damper from lower arm.
8. Remove screw securing spring to lower arm.
9. Remove and discard nut and bolt securing
lower arm to hub.
10. Loosen 2 bolts securing lower arm to subframe.
11. Release air spring spigot from lower arm.
CAUTION: Do not extend or compress air
spring.
12. Remove 2 bolts securing lower arm to
subframe. Discard bolts.
13. Remove lower arm.
Refit
1. Clean lower arm pivot and subframe mating
faces.
2. Fit lower arm, fit new bolts but do not tighten at
this stage.
3. Raise lower arm and locate air spring spigot.
4. Clean lower arm and hub mating faces.
5. Align hub to lower arm, fit new nut and bolt and
tighten to 250 Nm (184 lbf.ft).
6. Fit screw securing spring to lower arm and
tighten to 7 Nm (5 lbf.ft).
Parts & tools for this job Staging For Land Rover Range Rover
- TOOLCoil spring compressorSearch: coil spring compressor
- TOOLBall joint separatorSearch: ball joint separator
- PARTRear shock absorbersSearch: Land Rover Range Rover rear shock absorbers
Links open Amazon search results in a new tab. As an Amazon Associate I earn from qualifying purchases.