
Starter motor - V8
- Make
- Land Rover
- Model
- Range Rover L322 Range Rover Service Procedures
- Section
- REPAIRS › Starter motor - V8
CHARGING AND STARTING
86-1-12 REPAIRS
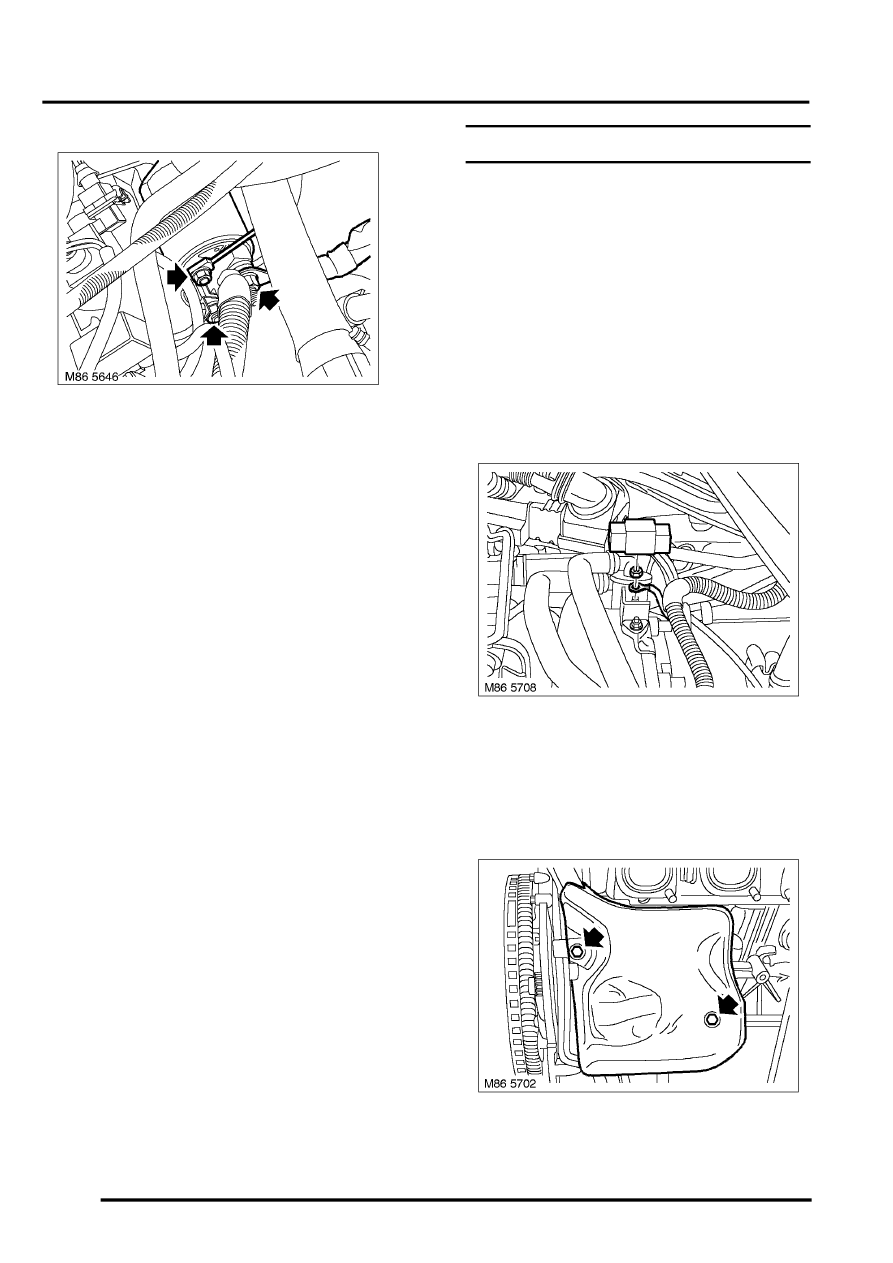
10. Remove nut and disconnect battery cable from
starter motor.
11. Remove 2 nuts and disconnect remaining leads
from starter motor.
12. Remove starter motor.
Refit
1. Clean starter motor and mating face. Clean
dowel and dowel hole.
2. Position starter motor, connect leads and
tighten nuts to 6 Nm (4.4 lbf.ft).
3. Fit battery cable to starter motor and tighten nut
to 15 Nm (11 lbf.ft).
4. Fit starter motor and tighten Torx bolts to 47 Nm
(35 lbf.ft).
5. Fit positive cable clip to inlet manifold.
6. Clean dipstick tube and location in oil sump.
7. Fit 'O' ring to dipstick tube, fit tube and tighten
bolt to 6 Nm (4.4 lbf.ft).
8. Fit dipstick.
9. Fit fuel hose clip to dipstick tube.
10. Secure harness to dipstick tube.
11. Fit air intake plenum.
12. Connect battery earth lead.
Starter motor - V8
$% 86.60.01
Before disconnecting the battery, ensure all text and
cautions in the battery disconnection section are
observed.
GENERAL INFORMATION, Electrical
Remove
1. Position vehicle on lift.
2. Disconnect battery earth lead.
3. Remove air intake plenum.
4. Release terminal cover, remove nut and
disconnect 2 cables from terminal post.
5. Remove RH exhaust manifold.
- V8, REPAIRS, Gasket(s) - exhaust manifold
- RH.
6. Remove 2 bolts and remove heat shield.
Parts & tools for this job Staging For Land Rover Range Rover
- TOOLBattery testerSearch: car battery tester
- TOOLDigital multimeterSearch: automotive digital multimeter
- TOOLBattery terminal cleanerSearch: battery terminal cleaner
Links open Amazon search results in a new tab. As an Amazon Associate I earn from qualifying purchases.