
Air spring assembly (page 3 of 3)
- Make
- Land Rover
- Model
- Range Rover L322 Range Rover Service Procedures
- Section
- REPAIRS
FRONT SUSPENSION
REPAIRS
60-9
4. Position spring and damper assembly, connect
air pipe but do not tighten union at this stage.
CAUTION: Ensure air pipe connections are
clean.
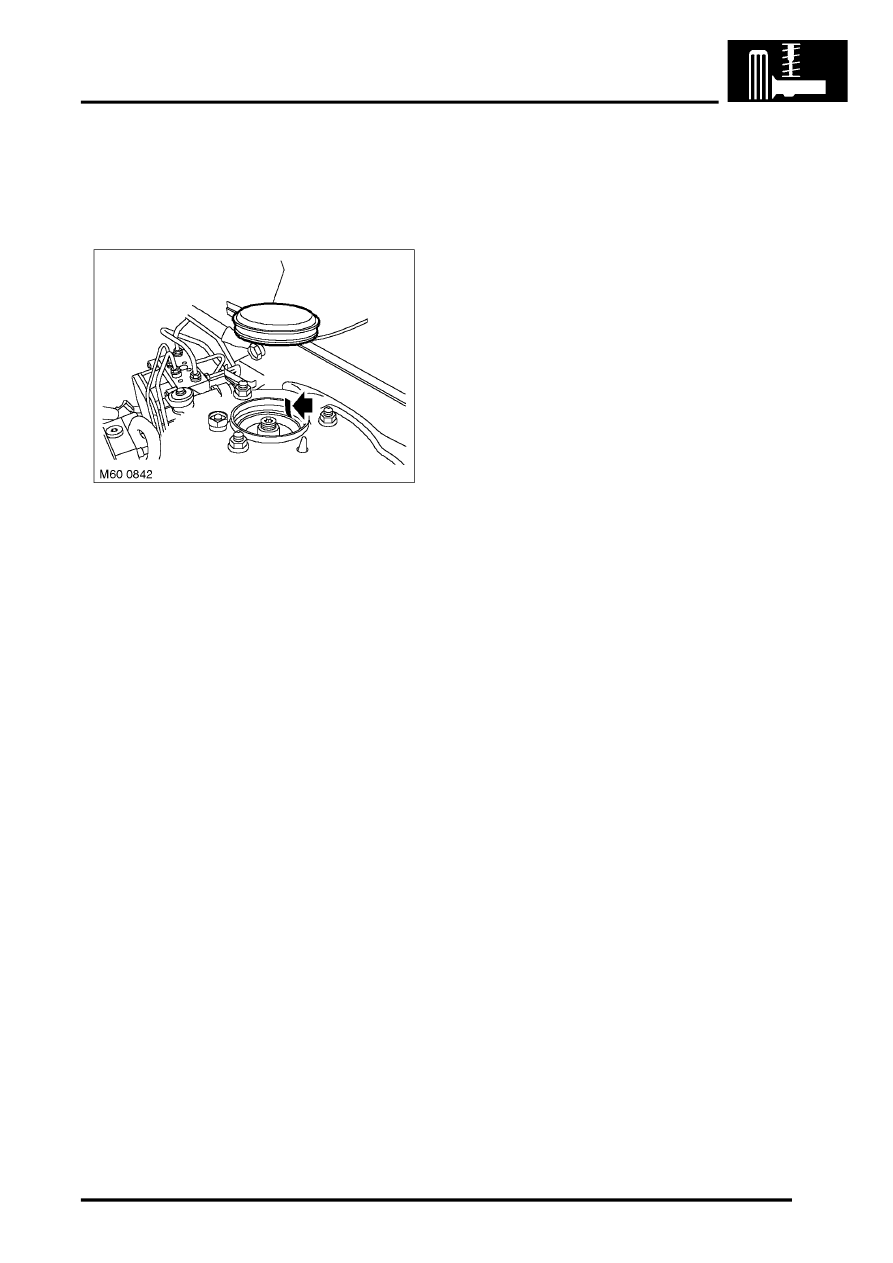
5. Locate spring and damper assembly to body, fit
top mounting nuts, align stud to reference mark
and tighten nuts to 56 Nm (42 lbf.ft).
CAUTION: Ensure paper tag on gasket is
visible through large hole on suspension
turret, arrowed in illustration.
6. Fit cap to top mounting.
7. Tighten air pipe connection to 3.5 Nm (2.6
lbf.ft).
8. Connect hub to damper, fit bolts and tighten to
250 Nm (184 lbf.ft).
9. Clean ball joint taper and taper seat.
10. Connect ball joint to steering arm, fit new nut
and tighten to 80 Nm (59 lbf.ft).
11. Clean mating faces of caliper and hub.
12. Position caliper to hub, fit bolts and tighten to
110 Nm (81 lbf.ft).
13. Secure brake hose and ABS sensor harness to
damper.
14. LH side only: Secure pad wear sensor lead.
15. Fit washer, connect anti-roll bar link, fit nut and
tighten to 100 Nm (74 lbf.ft).
CAUTION: The washer is hardened and
must be fitted in the correct position.
16. Pressurise suspension.
ADJUSTMENTS, Air suspension system -
depressurise and repressurise.
CAUTION: The system must be pressurised
before putting weight of vehicle on
suspension.
17. Fit road wheel(s) and tighten nuts to 140 Nm
(103 lbf.ft).
18. Remove stand(s) and lower vehicle.
19. Check front wheel alignment.
Parts & tools for this job Staging For Land Rover Range Rover
- TOOLCoil spring compressorSearch: coil spring compressor
- TOOLBall joint separatorSearch: ball joint separator
- PARTFront shock absorbersSearch: Land Rover Range Rover front shock absorbers
Links open Amazon search results in a new tab. As an Amazon Associate I earn from qualifying purchases.