
Reservoir - brake fluid
- Make
- Land Rover
- Model
- Range Rover L322 Range Rover Service Procedures
- Section
- REPAIRS › Reservoir - brake fluid
BRAKES
70-10
REPAIRS
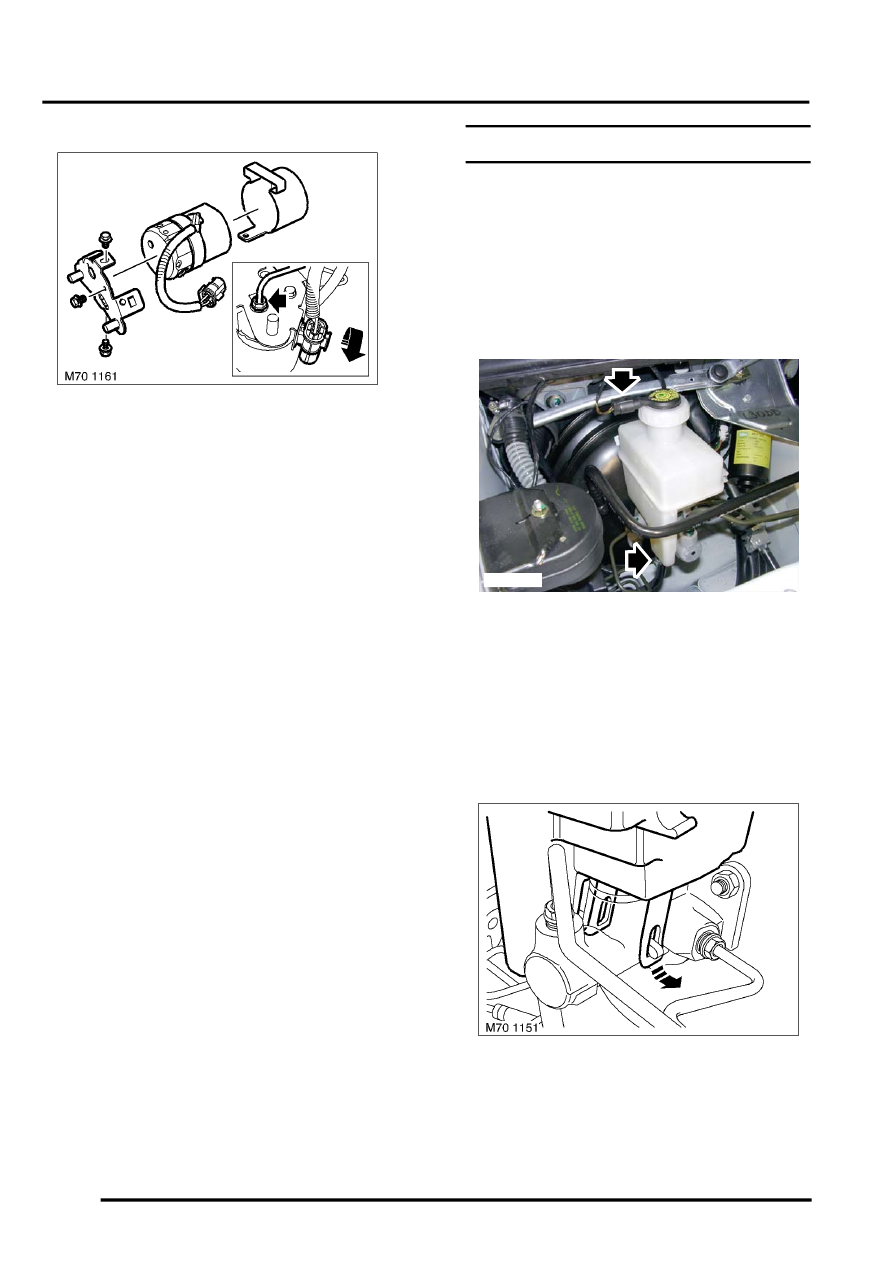
10. Noting its fitted position, remove brake pipe.
11. Release multiplug, remove 3 bolts and remove
mounting bracket and cover.
Refit
1. Fit mounting bracket and cover to pre-charge
pump, fit bolts and tighten to 8 Nm (6 lbf.ft).
2. Secure multiplug.
3. Clean brake pipe unions.
4. Fit brake pipe to pump and lightly tighten union.
5. Connect multiplug.
6. Locate pre-charge pump to mounting rubbers.
7. Fit bolt securing pre-charge pump and tighten
to 8 Nm (6 lbf.ft).
8. Connect pre-charge pump pipe to master
cylinder, tighten both unions to 14 Nm (10
lbf.ft).
9. Connect master cylinder feed to pre-charge
pump and tighten union to 14 Nm (10 lbf.ft).
10. Position alarm sounder to bracket, fit nut and
tighten to 8 Nm (6 lbf.ft).
11. Fit front wheel arch liner.
12. Bleed brakes using TestBook/T4.
Reservoir - brake fluid
$% 70.25.31
Remove
1. Position container to collect fluid spillage.
CAUTION: Brake fluid will damage paint
finished surfaces. If spilled, immediately
remove fluid and clean area with water.
2. Disconnect multiplug from low fluid level
sensor.
3. Release harness from clip.
4. Release clip and disconnect pre-charge pump
feed hose.
CAUTION: Plug hose immediately to
prevent fluid loss from pre-charge pump.
5. Release 2 clips and remove reservoir.
6. Remove and discard 2 reservoir seals.
CAUTION: Always fit plugs to open
connections to prevent contamination.
M70 1150
Parts & tools for this job Staging For Land Rover Range Rover
- TOOLBrake bleeder kitSearch: one man brake bleeder kit
- FLUIDBrake fluidSearch: brake fluid
- TOOLBrake line flaring toolSearch: brake line flaring tool
Links open Amazon search results in a new tab. As an Amazon Associate I earn from qualifying purchases.