
FASCIA ASSEMBLY
- Make
- Land Rover
- Model
- Range Rover P38
- Section
- REPAIR › FASCIA ASSEMBLY
CHASSIS AND BODY
13
REPAIR
7. Disconnect 3 towing harness multiplugs.
8. Remove 2 mounting bolt covers.
9. Remove 2 bolts securing bumper to chassis.
10. With assistance, release bumper ends from
brackets. Remove bumper.
Refit
11. With assistance, position bumper. Engage nylon
end supports to brackets.
12. If necessary, slacken bolts securing end support
brackets. Align bumper to body. Tighten to
29 Nm. (22 lbf.ft)
13. Fit bumper mounting bolts. Tighten to
70 Nm.
(52 lbf.ft)
14. Fit bolt covers.
15. Secure bumper end clips.
16. Connect towing harness multiplugs.
17. Position wheel arch liner extensions. Secure with
screws.
18. Position mud flaps. Secure with screws.
19. Fit road wheels. Tighten to
108 Nm. (80 lbf.ft)
20. Remove safety stands. Lower vehicle.
FASCIA ASSEMBLY
Service repair no - 76.46.23/99
WARNING: The fascia assembly houses
the heater distribution unit, blower
assemblies and air conditioning
evaporator. Assistance is essential during
removal and refit procedures.
CAUTION: When removed from the
vehicle, the fascia should be placed on a
soft covered work surface, supported on
suitable wooden blocks.
Remove
1. Vehicles with SRS only: Remove battery.
See
ELECTRICAL, Repair.
2. Vehicles without SRS: Disconnect battery
negative lead.
3. Drain cooling system.
See COOLING SYSTEM,
Repair.
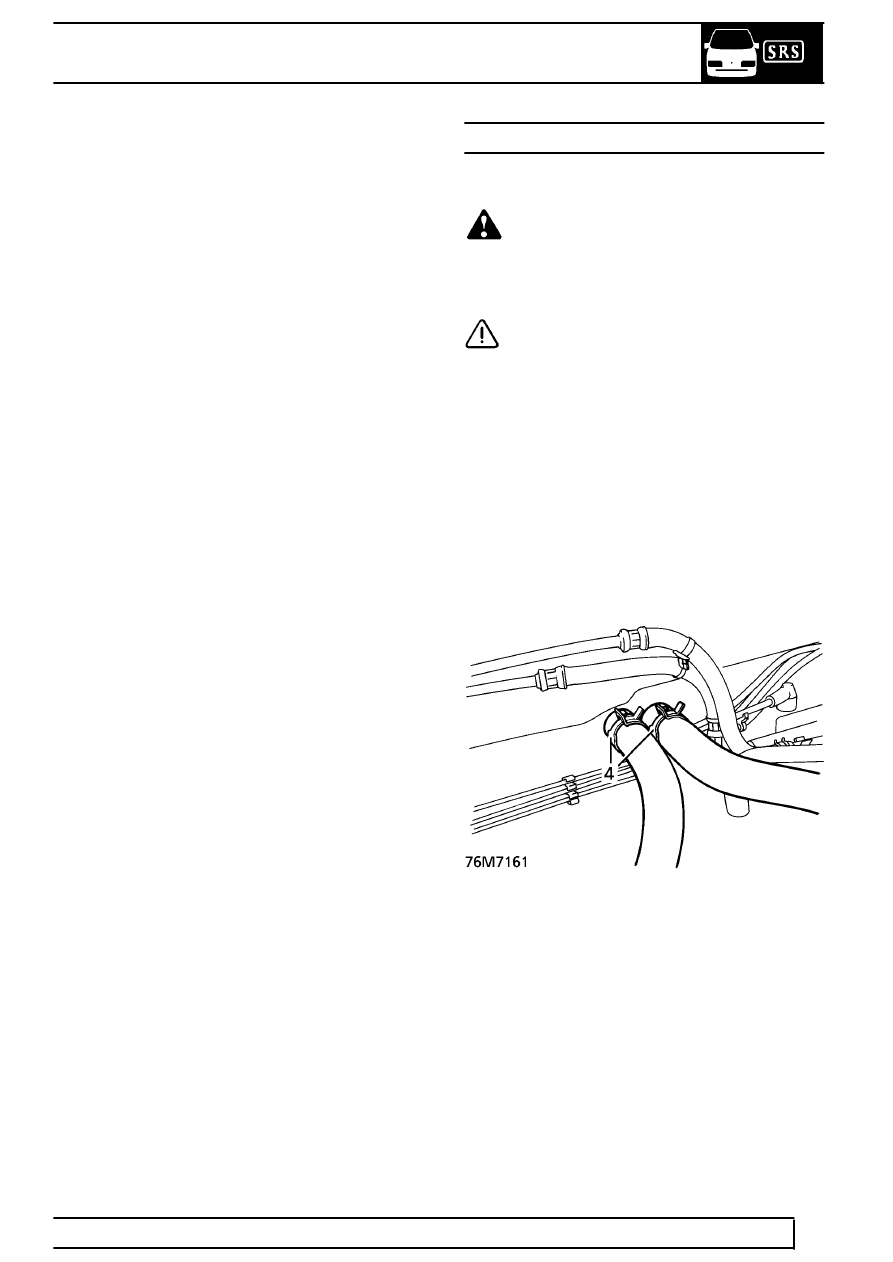
4. Loosen hose clips, disconnect hoses from
heater pipes.
See this section.
See STEERING,
Repair.
7. Remove wiper motor and linkage.
See WIPERS
AND WASHERS, Repair.
8. Disconnect passenger side heated front screen
multiplug. Release multiplug from clip.
Parts & tools for this job Staging For Land Rover Range Rover
- TOOLTrim removal tool kitSearch: trim removal tool kit
- PARTTouch-up paintSearch: Land Rover touch up paint
- PARTPanel clip assortmentSearch: Land Rover panel clips assortment
Links open Amazon search results in a new tab. As an Amazon Associate I earn from qualifying purchases.