
Bearings - connecting rods - engine set
- Make
- Land Rover
- Model
- Range Rover L322 Range Rover Service Procedures
- Section
- OVERHAUL › Bearings - connecting rods - engine set
ENGINE - V8
12-2-76 OVERHAUL
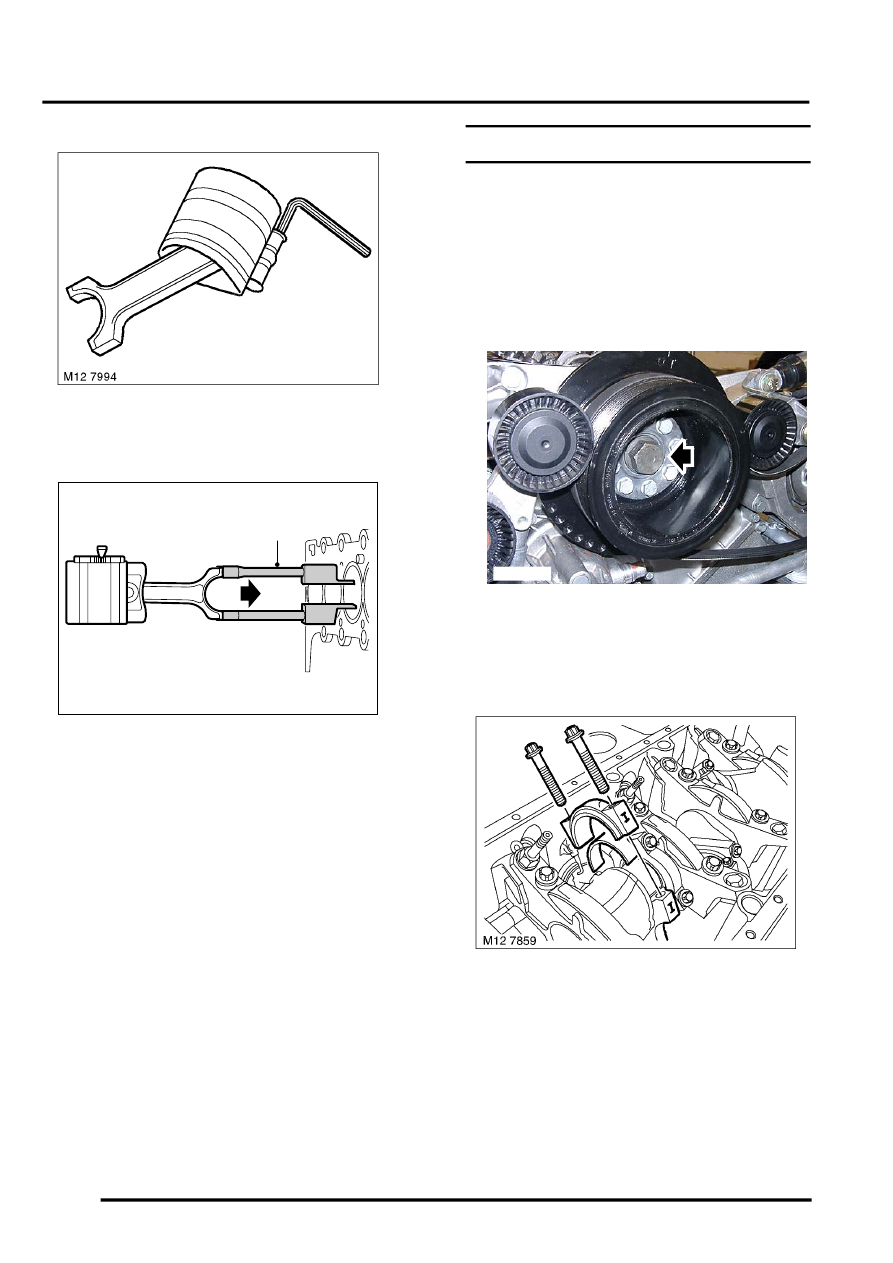
6. Using a piston ring clamp, compress piston
rings.
7. Fit guides LRT-12-176 to connecting rod to
protect cylinder bore and crankshaft journals.
8. Fit connecting rod and piston into cylinder bore.
Ensure arrow on piston is facing towards the
front of the cylinder block and dimples on
connecting rods that share a journal face each
other as shown.
9. Remove guides LRT-12-176 from connecting
rod.
Refit
1. Clean lubricating jet and mating face.
2. Fit lubrication jets and tighten Allen screws to
10 Nm (7 lbf.ft).
3. Fit connecting rod bearings.
Engine - V8, OVERHAUL, Bearings
- connecting rods - engine set.
4. Fit cylinder head gaskets.
Engine - V8, OVERHAUL, Gasket -
Bearings - connecting rods - engine set
$% 12.17.16.01
Remove
1. Remove oil pump.
Disassembly
1. With a socket and bar fitted to crankshaft pulley
bolt, rotate crankshaft in direction of rotation to
gain access to connecting rod bearing cap
bolts.
2. Mark connecting rod and bearing cap in relation
to cylinder number.
NOTE: Connecting rods and caps have
reference marks which align for assembly.
3. Loosen and remove big-end bearing cap bolts,
do not discard bolts at this stage.
4. Remove big-end bearing cap, remove and
discard bearing shell.
5. Move connecting rod clear of crankshaft
journal.
M12 7995
LRT-12-176
M12 7858
Parts & tools for this job Staging For Land Rover Range Rover
- PARTEngine gasket setSearch: Land Rover Range Rover engine gasket set
- TOOLTorque wrenchSearch: 3/8 inch torque wrench
- TOOLFeeler gauge setSearch: feeler gauge set
Links open Amazon search results in a new tab. As an Amazon Associate I earn from qualifying purchases.