
Wind deflector - sun/sliding roof - 3 door
- Make
- Land Rover
- Model
- Freelander Service Procedures
- Section
- REPAIRS › Wind deflector - sun/sliding roof - 3 door
SUNROOF
76-6-2
REPAIRS
11. Using suitable cutting wire, cut through PU
sealer securing sun roof to roof.
NOTE: If multi-strand cutting wire is used, a
sawing action can be used to cut through heavy
sealant deposits around corners.
12. Remove sun roof.
Refit
1. Clean surrounding area with solvent.
WARNING: Wear protective gloves when
handling glass, solvents and primers.
2. Use a vacuum cleaner to clear away any waste.
3. Cut sealer on roof flange down to a smooth
even finish.
4. Etch prime and paint any damaged areas.
5. Apply primer over etch primer on flange.
6. Apply activator over old sealer on flange.
7. Allow activator to cure.
8. Fit pre-cut nozzle to sealer cartridge, remove
lid, shake out crystals and fit cartridge to
applicator gun. If necessary modify the nozzle
to achieve required bead section.
9. Apply a continuous bead of sealer around roof
flange. Make bead slightly thicker at the
corners.
10. Check for breaks and air bubbles in sealer.
11. With assistance position sunroof and align to
roof aperture.
12. Fit sunroof tray seal.
SUNROOF, REPAIRS, Seal - tray -
13. Position sunroof clamping plates, fit and tighten
screws.
14. Connect drain tubes and secure with new cable
ties.
15. Remove body and trim protection.
16. Position wind deflectors, fit and tighten screws.
17. Fit 'T' bar and glass panels.
18. Fit headlining.
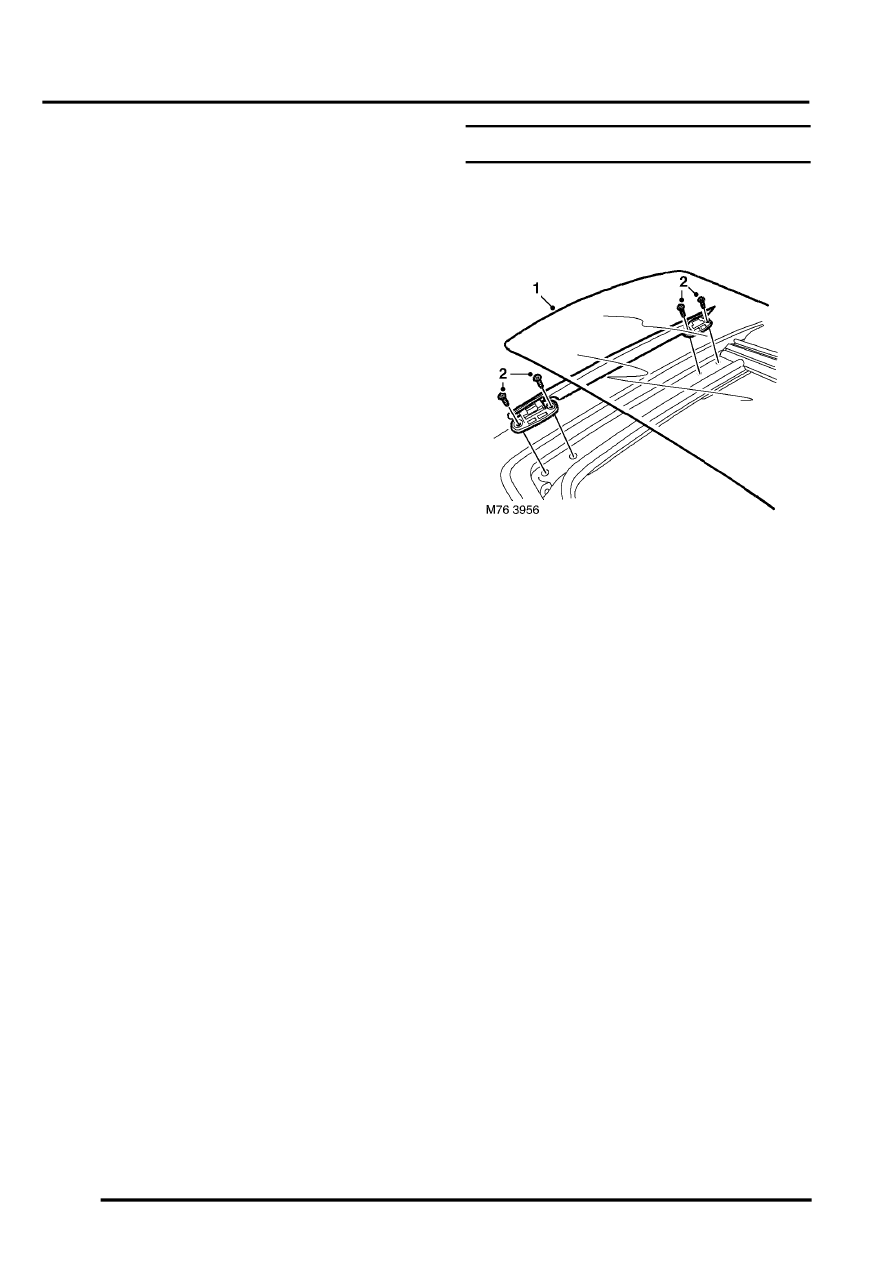
Wind deflector - sun/sliding roof - 3 door
$% 76.83.28
Remove
1. Release and remove sun roof glass panel.
2. Remove 4 screws securing hinges, remove
wind deflector and collect hinges.
Refit
1. Locate hinges to wind deflector, position wind
deflector, fit and tighten screws.
2. Position glass panel and secure catch.
Parts & tools for this job Staging For Land Rover Freelander
- TOOLTrim removal tool kitSearch: trim removal tool kit
- PARTTouch-up paintSearch: Land Rover touch up paint
- PARTPanel clip assortmentSearch: Land Rover panel clips assortment
Links open Amazon search results in a new tab. As an Amazon Associate I earn from qualifying purchases.