
CONDENSER - V8 (page 2 of 2)
- Make
- Land Rover
- Model
- Range Rover P38
- Section
- REPAIR
AIR CONDITIONING
7
REPAIR
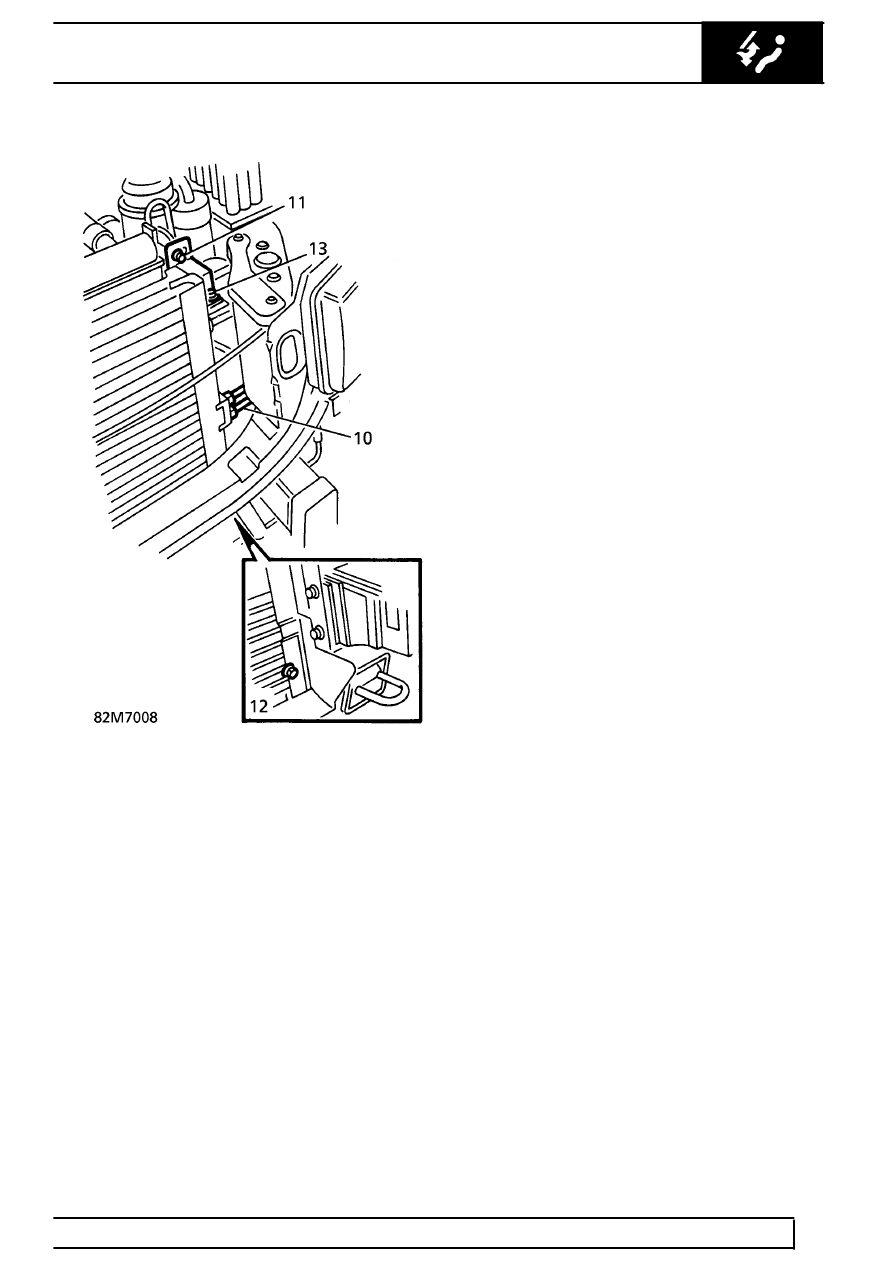
11. Remove 2 bolts securing condenser upper
mounting brackets to radiator mounting.
12. Remove 2 lower securing bolts. Remove
condenser.
13. Remove 2 bolts securing mounting brackets to
condenser. Remove brackets.
Refit
14. Fit mounting brackets to condenser. Secure with
bolts.
15. Position condenser. Secure with bolts.
16. Remove plugs from pipes and condenser.
17. Lubricate new ’O’ rings with compressor oil. Fit
to connections.
18. Connect pipes to condenser. Tighten to
15 Nm.
(11 lbf.ft)
19. Position LH air deflector. Secure with studs.
20. Position cooling fans. Secure with bolts. Connect
multiplugs.
21. Position bonnet platform. Secure bonnet release
cable with strap.
22. Secure bonnet platform with bolts.
23. Refit front bumper.
See CHASSIS AND BODY,
Repair.
24. Refit front grille.
See CHASSIS AND BODY,
Repair.
25. Evacuate and recharge air conditioning system.
See Adjustment.
26. Reconnect battery negative lead.
Parts & tools for this job Staging For Land Rover Range Rover
- TOOLA/C manifold gauge setSearch: AC manifold gauge set
- TOOLUV leak detection kitSearch: AC UV leak detection kit
- PARTCabin filterSearch: Land Rover Range Rover cabin filter
Links open Amazon search results in a new tab. As an Amazon Associate I earn from qualifying purchases.