
Propeller shaft - front /rear - overhaul
- Make
- Land Rover
- Model
- Freelander Service Procedures
- Section
- REPAIRS › Propeller shaft - front /rear - overhaul
DRIVESHAFTS
REPAIRS
47-13
Propeller shaft - front /rear - overhaul
$% 47.15.11
Remove
1. Remove relevant propeller shaft.
DRIVESHAFTS, REPAIRS, Propeller
2. Examine universal joint for signs of wear or
damage.
3. Clean the universal joint bearing cups and
circlips.
CAUTION: Before removal, mark the
position of the spider pin relative to the
journal yoke ears on the propeller shaft
joint. This will ensure correct assembly and
reduce the possibility of imbalance.
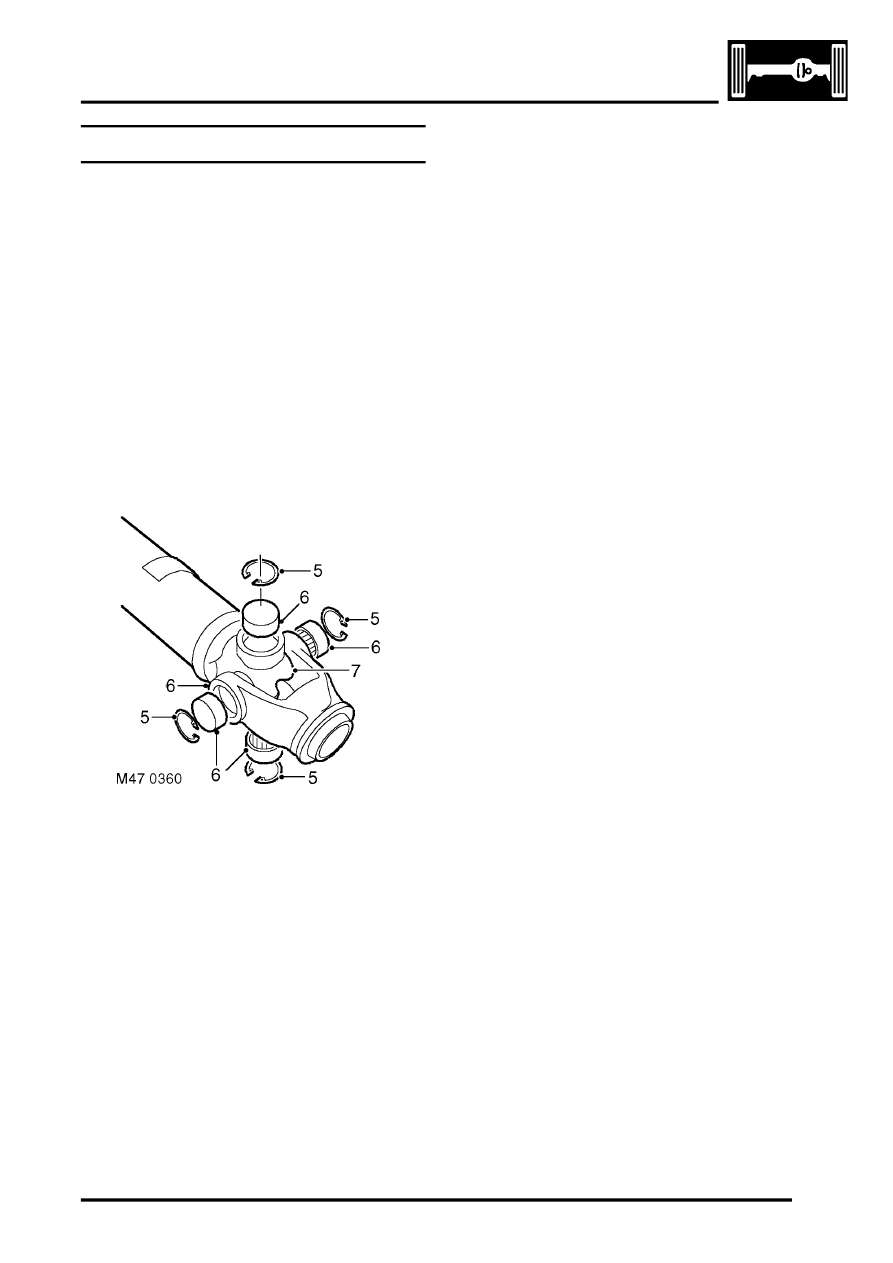
4. Remove the circlips.
5. Tap the yokes to eject bearing cups. Remove
bearing cups.
6. Remove spider from yokes.
7. Clean yokes and bearing cup locations.
Refit
1. Remove bearing cups from new spider.
2. Check all needle rollers are present and
correctly positioned in bearing cups.
3. Ensure bearing cups are one-third full of
lubricant.
4. Enter new spider, with seals, into one of the
yokes.
5. Partially insert one bearing cup into yoke and
enter spider trunnion into bearing cup.
6. Insert opposite bearing cup in yoke.
7. Press both cups into place.
8. Press each cup into its respective location in
yoke up to lower land of circlip groove.
CAUTION: Damage may be caused to cups
and seals if cups pass this point.
9. Fit circlips and check no end float exists.
10. Engage spider in second yoke. Fit bearing cups
and circlips as described in steps 4 to 8.
11. Fit propeller shaft.
Parts & tools for this job Staging For Land Rover Freelander
- PARTFront wheel bearingSearch: Land Rover Freelander front wheel bearing
- TOOLBearing puller kitSearch: wheel bearing puller kit
- PARTCV boot kitSearch: Land Rover Freelander cv boot kit
Links open Amazon search results in a new tab. As an Amazon Associate I earn from qualifying purchases.