
GASKET - REAR COVER PLATE
- Make
- Land Rover
- Model
- Defender TD5 Defender
- Section
- GASKET - REAR COVER PLATE
41
TRANSFER GEARBOX
6
REPAIR
71. Release propeller shaft, align flange markings
and connect to studs.
72. Fit nuts securing propeller shaft and tighten to 48
Nm (33 lbf.ft).
73. Clean front propeller to transfer gearbox flange
mating faces.
74. Fit propeller shaft, align flange markings and
tighten nuts to 48 Nm (33 lbf.ft).
75. Using new gasket, fit intermediate silencer and
tighten nuts to 25 Nm (18 lbf.ft).
76. Fit exhaust front pipe. See MANIFOLD AND
EXHAUST SYSTEM, Repair.
77. Refill transfer gearbox with recommended oil.
78. Fit cooling fan cowl.
79. Fit high/low operating rod and secure with
retaining clip.
80. Position handbrake outer cable to heelboard.
81. Position handbrake cable to lever, fit clevis pin,
washer and new split pin.
82. Position handbrake gaiter and secure with trim
studs.
83. Fit insulation pad to tunnel.
84. Fit gear lever cover.
85. Fit gear lever knobs.
86. Position diagnostic plug bracket, access panel
and tighten screws.
87. Fit carpet to transmission tunnel.
88. Fit cubby box. See CHASSIS AND BODY,
Repair.
89. Fit cooling fan. See COOLING SYSTEM,
Repair.
90. Reconnect battery negative lead.
91. Fit battery cover.
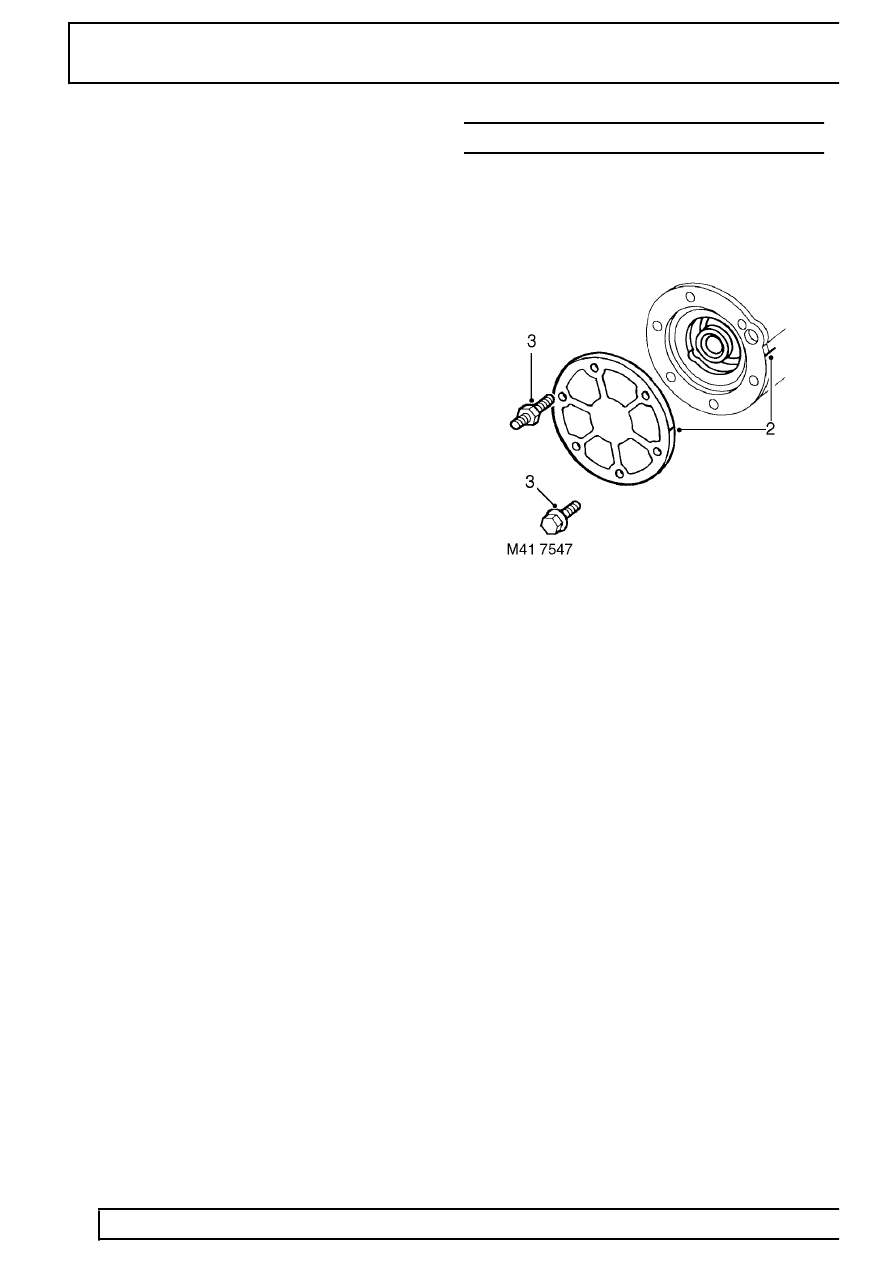
GASKET - REAR COVER PLATE
Service repair no - 41.20.30
Remove
1. Raise vehicle on ’4 post ramp’.
2. Mark rear cover plate to bearing housing for
assembly purposes.
3. Noting fitted position of stud bolt and harness
clip bracket, remove 5 bolts and stud bolt
securing cover plate.
4. Collect harness clip bracket.
5. Remove cover plate.
Refit
6. Clean cover plate and mating face.
7. Apply Hylosil RTV 102 to rear cover mating face.
8. Align reference marks, fit cover plate.
9. Clean cover bolts and apply Loctite 290 threads
of bolts and stud nut.
10. Position clip bracket, fit stud nut and bolts,
tighten by diagonal selection to 25 Nm (18
lbf.ft).
11. Check/top-up transfer gearbox oil.
12. Lower vehicle.
Parts & tools for this job Staging For Land Rover Defender
- TOOLTorque wrenchSearch: 3/8 inch torque wrench
- TOOLSocket setSearch: socket set metric
- BOOKHaynes manualSearch: Haynes manual Land Rover Defender
Links open Amazon search results in a new tab. As an Amazon Associate I earn from qualifying purchases.