
PANEL REPLACEMENT PROCEDURE (page 3 of 4)
- Make
- Land Rover
- Model
- Defender TD5 Defender
77
PANEL REPAIRS
4
PROCEDURES
Prepare New Surfaces
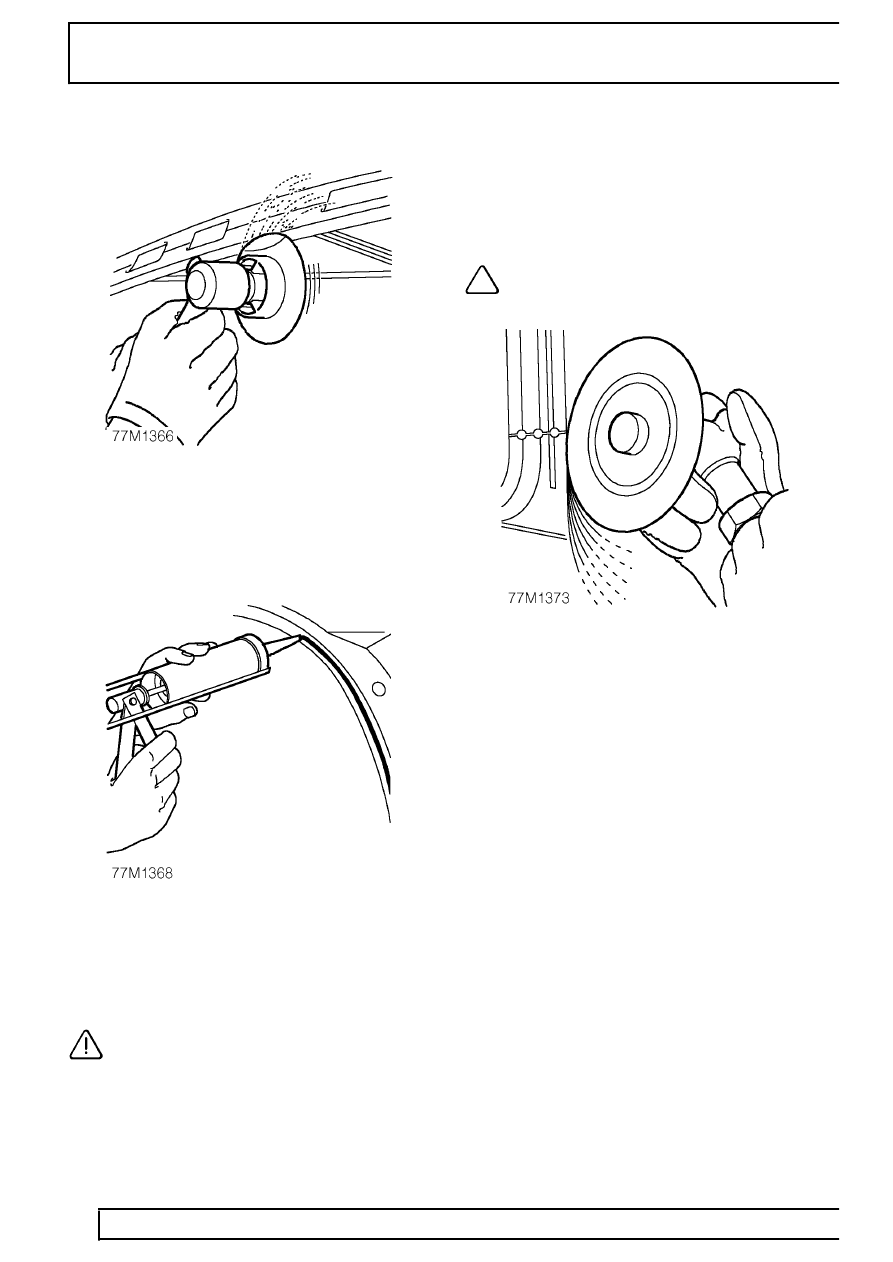
8. Prepare new panel joint edges for welding by
sanding to a bright finish. This must include inner
as well as outer faces.
9. Drill holes in new panel, in the equivalant spot
weld positions.
10. Apply adhesive sealant to panel joint surfaces.
11. All mating faces that have sealant applied to
them must be cleaned using a suitable solvent.
The majority of Aluminium sealants have a
primer/pre-treatment included with them.
CAUTION: Do not use Petroleum Spirit,
Alcohol or Paint Thinners to clean mating
faces.
Offer Up and Align
Offer up new panel and align with associated panels.
Clamp into position using welding clamps or Mole
grips. Where a joggle or brace joint is being adopted,
make a set in the original panel joint edge or insert a
brace behind the joint.
NOTE: In cases where access for welding
clamps is difficult, it may be necessary to
use tack welds.
12. Dress MIG tack welds using a sander with 36 grit
disc, or a belt-type sander where access is
limited.
Parts & tools for this job Staging For Land Rover Defender
- TOOLTorque wrenchSearch: 3/8 inch torque wrench
- TOOLSocket setSearch: socket set metric
- BOOKHaynes manualSearch: Haynes manual Land Rover Defender
Links open Amazon search results in a new tab. As an Amazon Associate I earn from qualifying purchases.