
PANEL REPLACEMENT PROCEDURE (page 2 of 4)
- Make
- Land Rover
- Model
- Defender TD5 Defender
PANEL REPAIRS
3
PROCEDURES
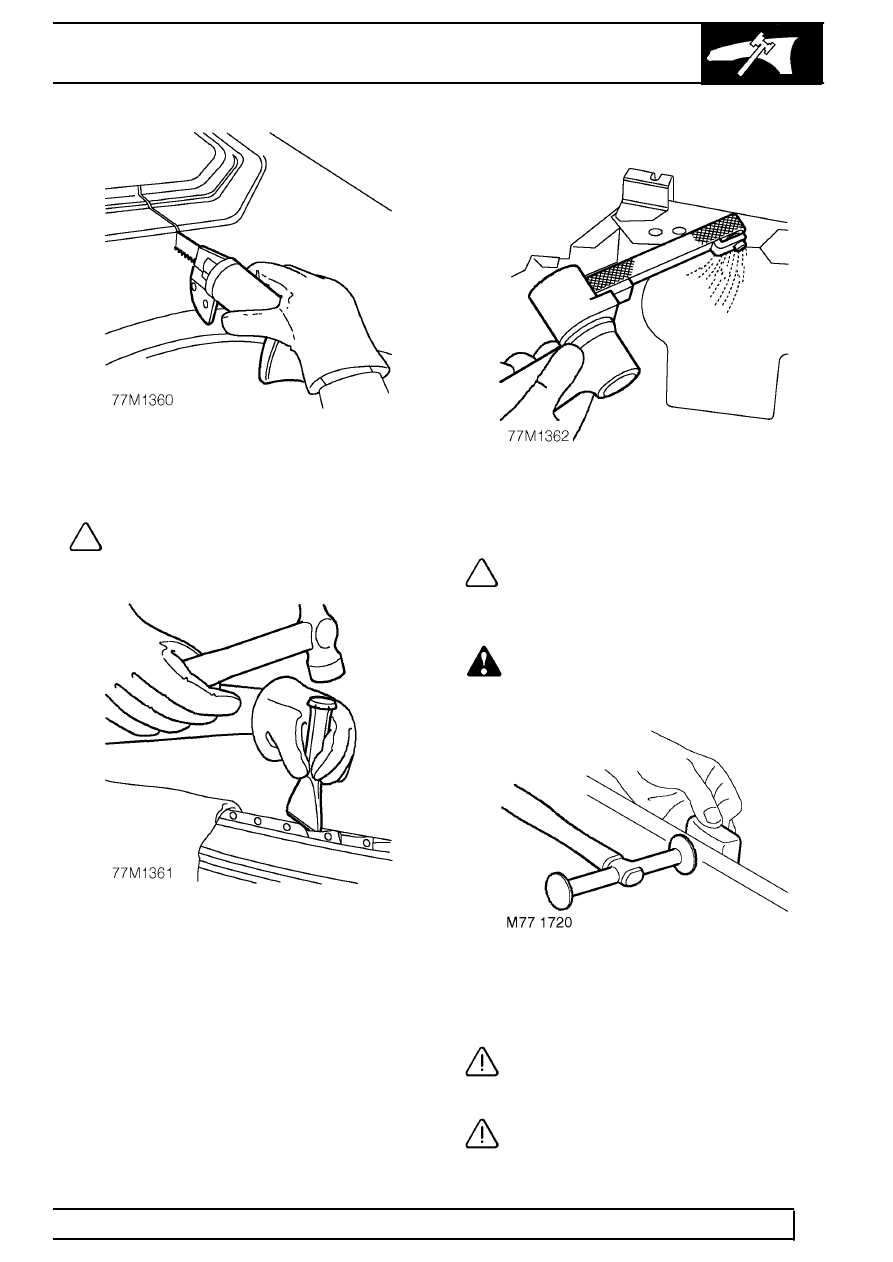
4. Cut away the bulk of the panel as necessary
using an air saw.
NOTE: On certain panel joints MIG welds
and braze should be removed using a
sander where possible, before cutting out
the panel bulk.
5. Separate spot welded joints and remove panel
remnants using hammer, bolster chisel and
pincers.
Prepare Old Surfaces
6. Clean all panel joint edges to a bright smooth
finish, using a belt-type sander.
NOTE: Prior to sanding, remove remaining
sealant using a hot air gun to minimise the
risk of toxic fumes caused by generated
heat.
WARNING: Care must be taken to avoid
excessive heat build up which may be
caused by this equipment.
7. Straighten existing joint edges using shaping
block and hammer.
CAUTION: Where significant straightening
is required, heat must be applied to the
area to avoid stretching the Aluminium.
CAUTION: All tools used for working with
Aluminium must be kept separate from
those used on steel.
Parts & tools for this job Staging For Land Rover Defender
- TOOLTorque wrenchSearch: 3/8 inch torque wrench
- TOOLSocket setSearch: socket set metric
- BOOKHaynes manualSearch: Haynes manual Land Rover Defender
Links open Amazon search results in a new tab. As an Amazon Associate I earn from qualifying purchases.