
PANEL REPLACEMENT PROCEDURE (page 4 of 4)
- Make
- Land Rover
- Model
- Defender TD5 Defender
PANEL REPAIRS
5
PROCEDURES
Welding
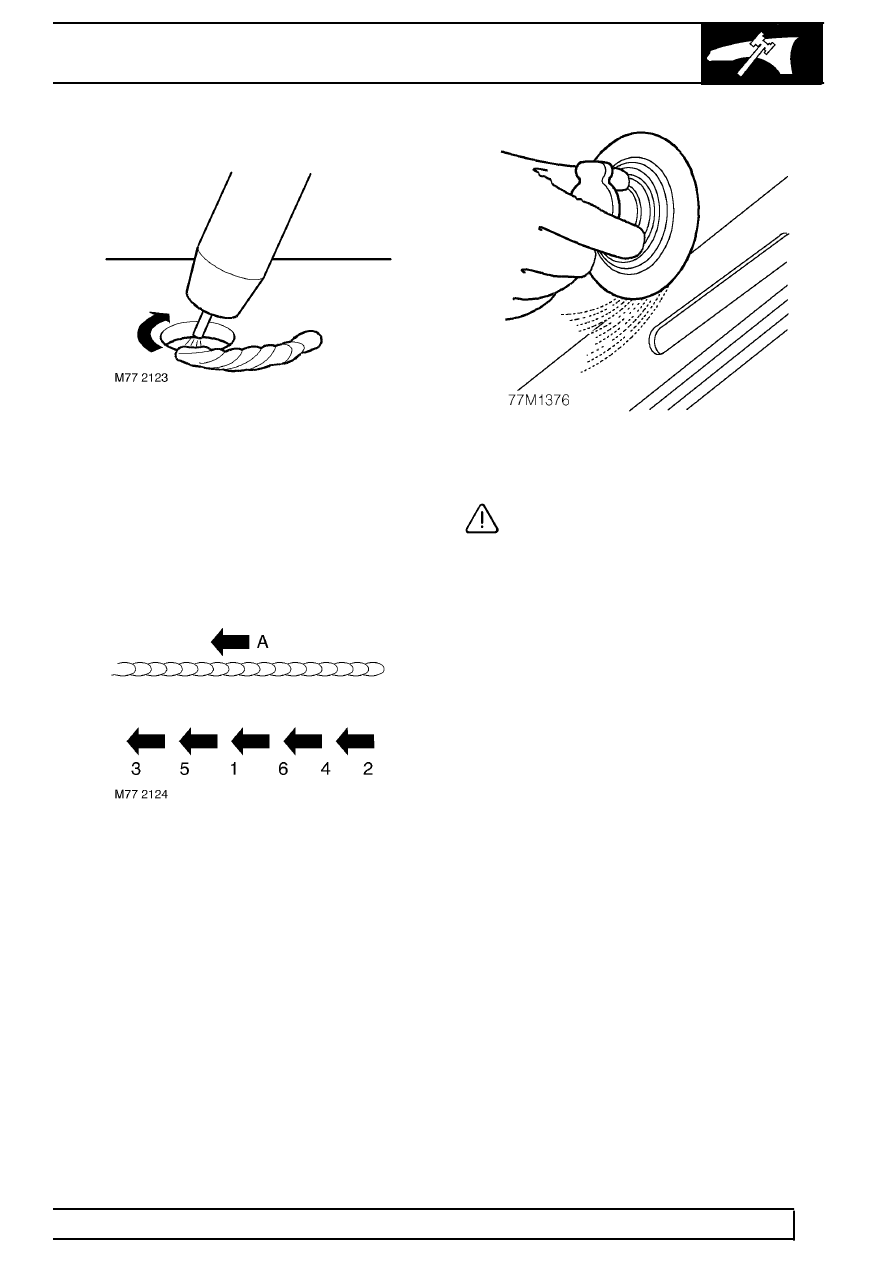
13. When plug welding, begin weld approximately 15
mm (0.6 ’) from hole. This will allow the weld
area to be preheated which will enhance weld
penetration. It also allows the operator to see
more easily where penetration takes place. Fill
hole with weld by moving in a circular direction
around the hole.
14. When MIG seam welding do not carry out
lengthy operations. Divide the welds into short
operations, this will reduce the chances of
overheating the workpiece which inturn will avoid
distortion and strain.
15. Dress all welds using a sander with 36 grit disc,
or a belt-type sander and/or wire brush.
CAUTION: Only use a Stainless Steel wire
brush for Aluminium.
Parts & tools for this job Staging For Land Rover Defender
- TOOLTorque wrenchSearch: 3/8 inch torque wrench
- TOOLSocket setSearch: socket set metric
- BOOKHaynes manualSearch: Haynes manual Land Rover Defender
Links open Amazon search results in a new tab. As an Amazon Associate I earn from qualifying purchases.