
HORN - LH
- Make
- Land Rover
- Model
- Defender TD5 Defender
- Section
- HORN - LH
86
ELECTRICAL
4
REPAIR
Refit
12. Clean mating face of alternator and vacuum
pump.
13. Fit vacuum pump to alternator and tighten bolts
to 10 Nm (7 lbf.ft) .
14. Position alternator and connect multiplug.
15. Connect vacuum hose and oil drain hose to
vacuum pump and secure clip.
16. With assistance align alternator to mounting
bracket and fit but do not tighten bolt.
17. Fit bolt securing support stay to alternator and
tighten to 25 Nm (18 lbf.ft) .
18. Tighten alternator to mounting bracket bolt to 45
Nm (33 lbf.ft).
19. Using new ’O’ ring, fit and tighten lubrication pipe
union to 10 Nm (8 lbf.ft) .
20. Connect lead to alternator and tighten nut to 6
Nm (4.4 lbf.ft) .
21. Fit auxilliary drive belt tensioner and tighten bolt
to 50 Nm (37 lbf.ft) .
22. Fit auxilliary drive belt. See this Section.
HORN - LH
Service repair no - 86.30.10
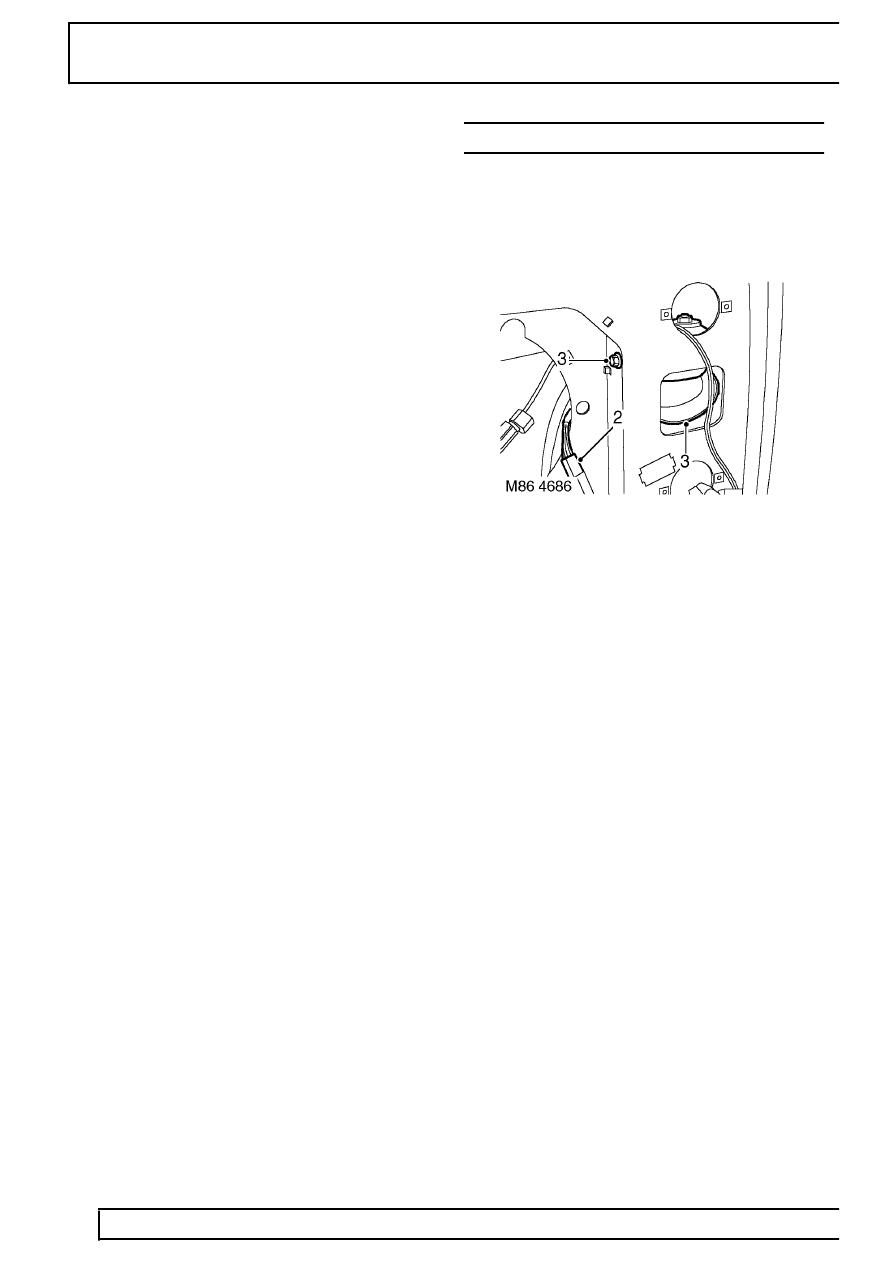
Remove
1. Remove LH headlamp. See this Section.
2. Disconnect horn multiplug.
3. Remove nut and remove horn from mounting
bracket.
Refit
4. Position horn, tighten securing and connect
multiplug.
5. Fit LH headlamp. See this Section.
Parts & tools for this job Staging For Land Rover Defender
- PARTReplacement bulbsSearch: Land Rover Defender bulbs
- TOOLDigital multimeterSearch: automotive digital multimeter
Links open Amazon search results in a new tab. As an Amazon Associate I earn from qualifying purchases.