
PLASTIC SHEET - REAR DOOR - FROM 02MY
- Make
- Land Rover
- Model
- Defender TD5 Defender
- Section
- PLASTIC SHEET - REAR DOOR - FROM 02MY
76
CHASSIS AND BODY
34
REPAIR
PLASTIC SHEET - FRONT DOOR - FROM 02MY
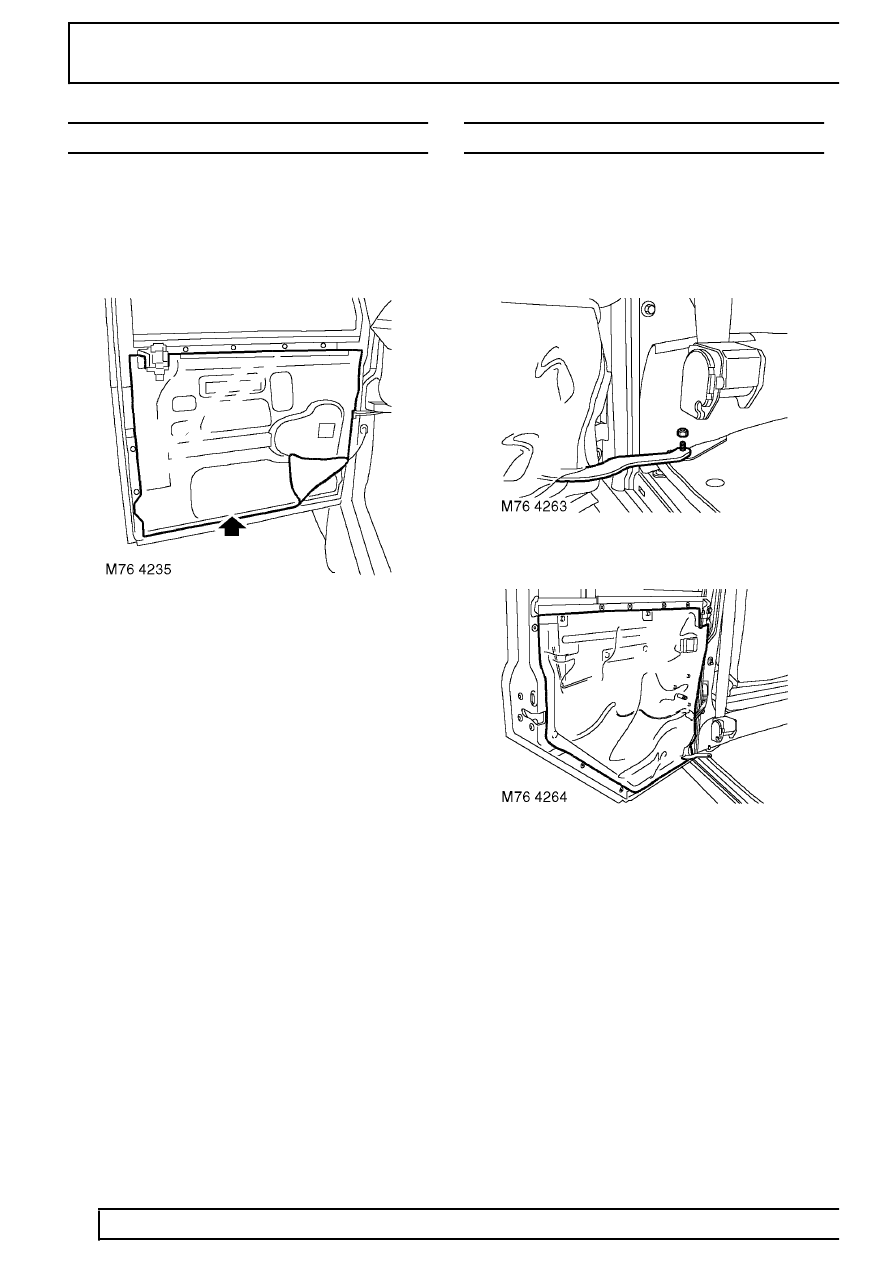
Service repair no - 76.34.26
Remove
1. Remove front door trim casing. See this
Section.
2. Release and discard plastic sheet.
Refit
3. Clean door contact area with white spirit.
4. Apply adhesive sealing strip to plastic sheet.
5. Position new plastic sheet to door and seal in
position, by applying hand pressure to centre
bottom of sheet first then move out from this
point in both directions applying an even
pressure to the seal, smooth out any creases.
6. Fit front door trim casing. See this Section.
PLASTIC SHEET - REAR DOOR - FROM 02MY
Service repair no - 76.34.28
Remove
1. Remove rear door trim casing. See this
Section.
2. Remove nut and disconnect check strap.
3. Release and discard plastic sheet.
Refit
4. Clean door contact area with white spirit.
5. Apply adhesive sealing strip to plastic sheet.
6. Position new plastic sheet to door and seal in
position, by applying hand pressure to centre
bottom of sheet first then move out from this
point in both directions applying an even
pressure to the seal, smooth out any creases.
7. Connect check strap, fit nut and tighten
sufficiently to allow check strap to pivot without
rattling.
8. Fit rear door trim casing. See this Section.
Parts & tools for this job Staging For Land Rover Defender
- TOOLTrim removal tool kitSearch: trim removal tool kit
- PARTTouch-up paintSearch: Land Rover touch up paint
- PARTPanel clip assortmentSearch: Land Rover panel clips assortment
Links open Amazon search results in a new tab. As an Amazon Associate I earn from qualifying purchases.