
ARM - WIPER - FROM 02MY
- Make
- Land Rover
- Model
- Defender TD5 Defender
- Section
- ARM - WIPER - FROM 02MY
84
WIPERS AND WASHERS
2
REPAIR
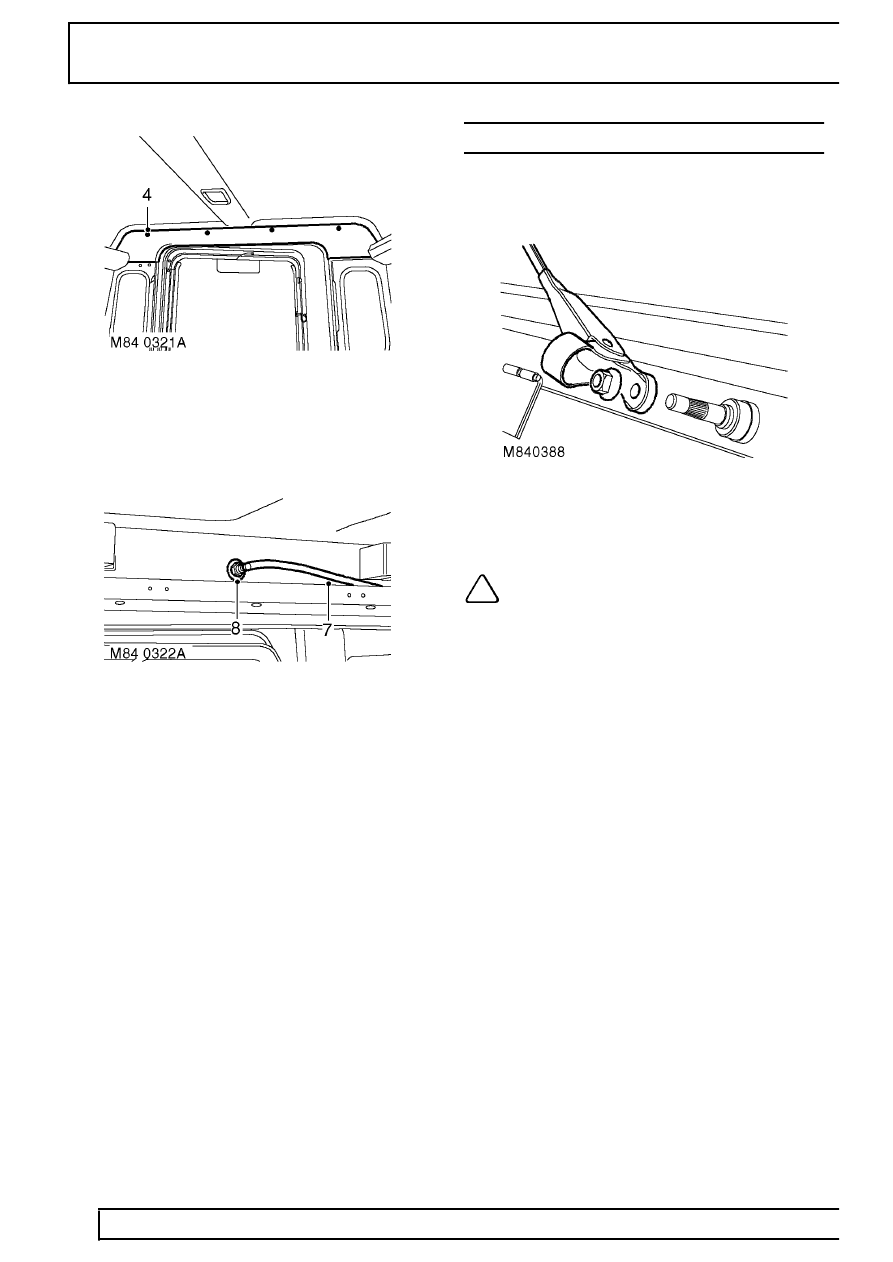
4. Remove 4 trim studs securing upper rear finisher
to body.
5. Release and remove upper rear finisher.
6. Position drain tin to collect any fluid spillage.
7. Disconnect washer tube from jet.
8. Remove nut securing washer jet to body.
9. Remove washer jet.
Refit
10. Fit washer jet to body and secure with nut.
11. Connect washer tube to jet.
12. Remove drain tin.
13. Fit upper rear finisher and secure with trim studs.
14. Fit both rear grab handles and secure with
screws.
15. Fit both rear side window finishers.
ARM - WIPER - FROM 02MY
Service repair no - 84.15.02
Remove
1. Raise nut cover on wiper arm and remove nut.
2. Remove wiper arm from spindle.
NOTE: Do not carry out further
dismantling if component is removed for
access only.
3. Remove wiper blade.
Refit
4. Fit wiper blade.
5. Fit wiper arm to spindle and align blade to
windscreen.
6. Tighten nut securing wiper arm to 17 Nm (13
lbf.ft), and fit cover.
Parts & tools for this job Staging For Land Rover Defender
- PARTWiper bladesSearch: Land Rover Defender wiper blades
- PARTWasher pumpSearch: Land Rover Defender washer pump
Links open Amazon search results in a new tab. As an Amazon Associate I earn from qualifying purchases.