
CRANKSHAFT
- Make
- Land Rover
- Model
- Defender TD5 Defender
- Section
- CRANKSHAFT
12
ENGINE
36
OVERHAUL
9. Check that the cut-out in piston skirt is
positioned above the oil squirt jet.
10. Repeat for other pistons in turn ensuring that
pistons and connecting rods are fitted in cylinder
bores from which they were removed.
11. Fit connecting rod bearings. See this Section.
CAUTION: If new pistons, connecting rods
or crankshaft have been fitted, it will be
necessary to select correct thickness of
cylinder head gasket. See this Section.
CRANKSHAFT
Service repair no - 12.21.33.01
Remove
1. Remove timing chain and sprockets. See this
Section.
2. Remove crankshaft rear oil seal. See this
Section.
3. Remove connecting rod bearings. See this
Section.
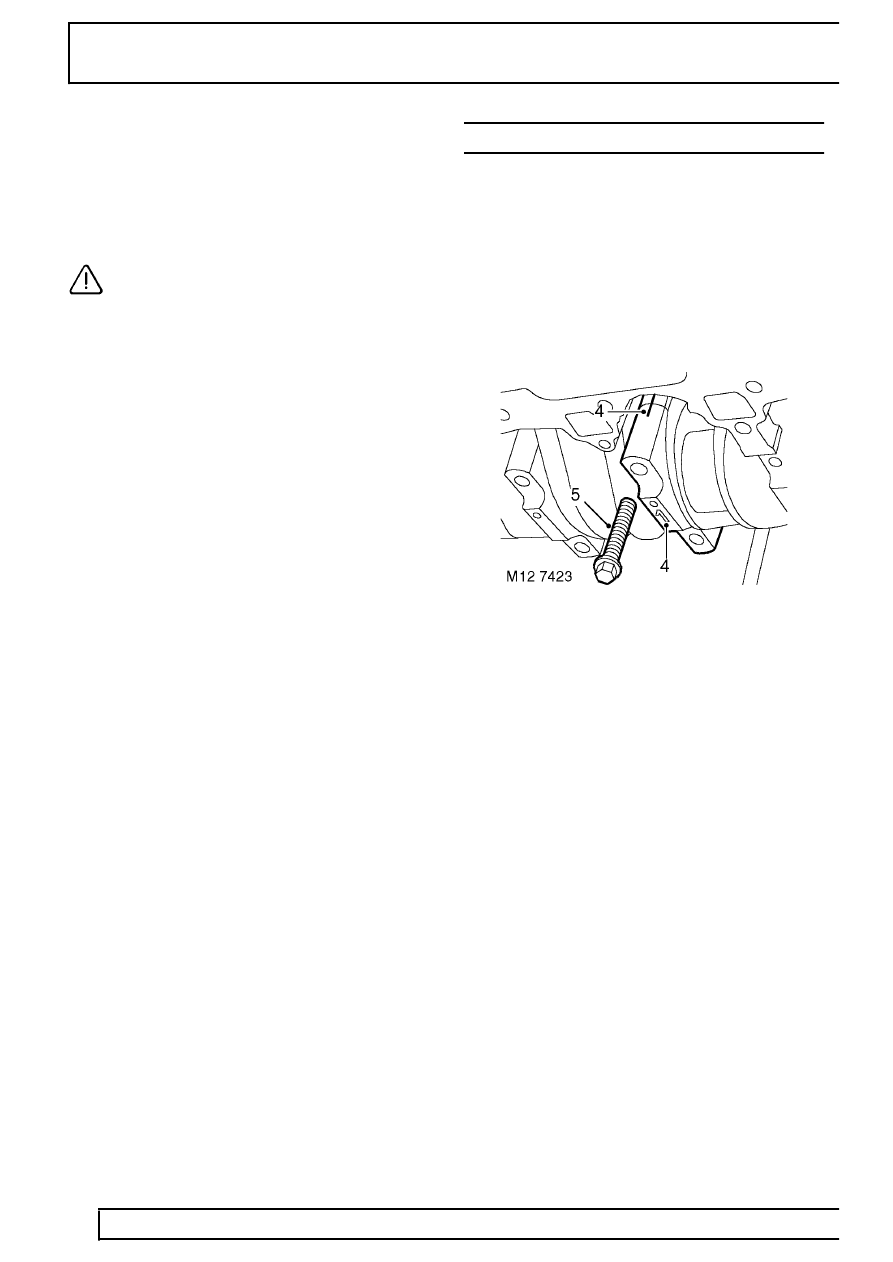
4. Check that cylinder reference number is on each
main bearing cap. Make suitable alignment
marks between each main bearing cap and
cylinder block.
5. Starting at No. 3 main bearing cap and working
outwards, progressively loosen, then remove 2
bolts securing each cap. Discard main bearing
cap bolts.
Parts & tools for this job Staging For Land Rover Defender
- PARTEngine gasket setSearch: Land Rover Defender engine gasket set
- TOOLTorque wrenchSearch: 3/8 inch torque wrench
- TOOLFeeler gauge setSearch: feeler gauge set
Links open Amazon search results in a new tab. As an Amazon Associate I earn from qualifying purchases.