
EVAPORATOR (page 2 of 3)
- Make
- Land Rover
- Model
- Defender TD5 Defender
AIR CONDITIONING
5
REPAIR
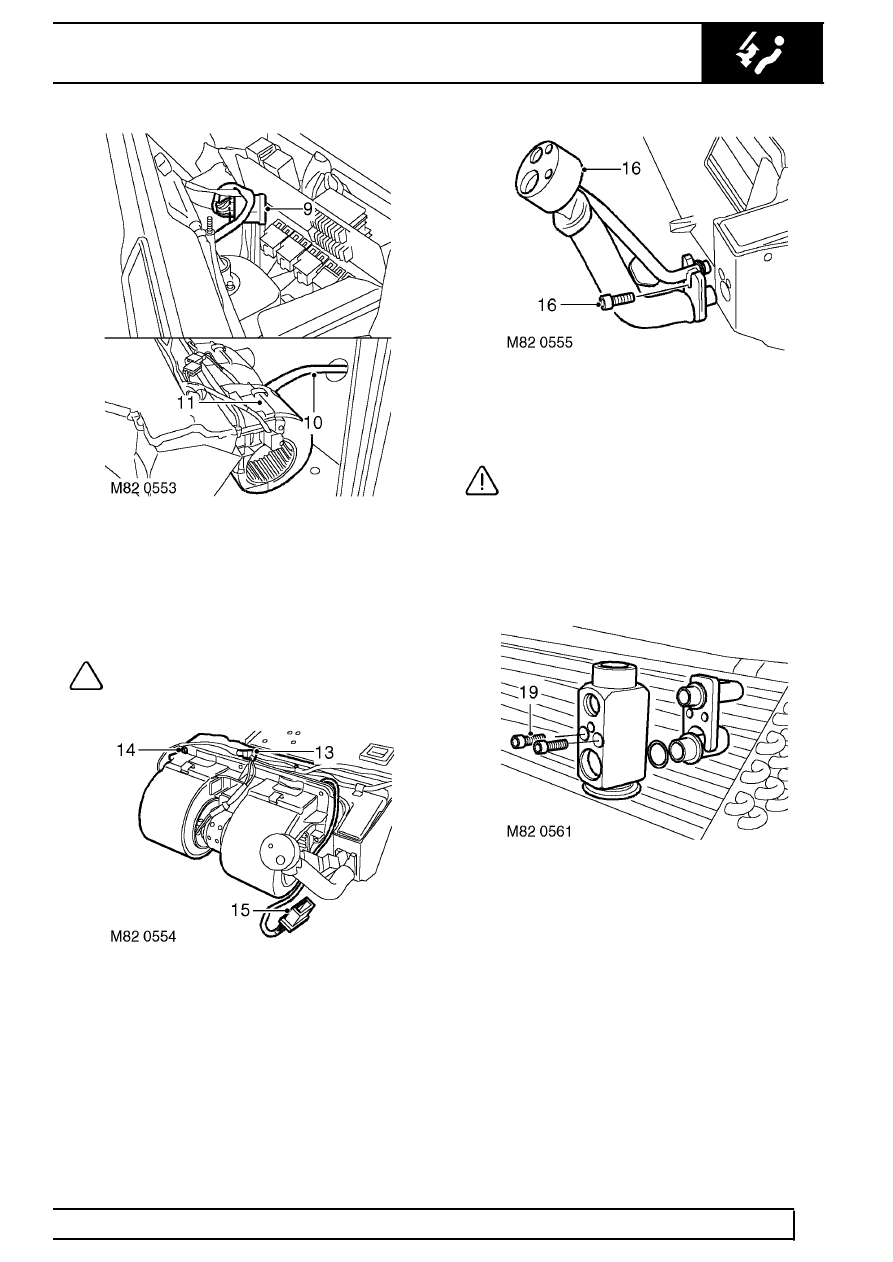
9. Disconnect multiplug from auxiliary relay
bracket.
10. Release drain pipe from evaporator.
11. Release evaporator from bulkhead grommet.
12. With assistance remove A/C duct assembly from
vehicle.
NOTE: Do not carry out further
dismantling if component is removed for
access only.
13. Disconnect blower motor multiplugs.
14. Remove 5 screws and remove blower unit from
A/C duct.
15. Disconnect multiplug from trinary switch.
16. Remove Allen screw, remove pipe assembly
from evaporator and discard ’O’ rings.
CAUTION: Immediately cap all air
conditioning pipes to prevent ingress of
dirt and moisture into the system.
17. Remove 7 screws and remove evaporator cover
from A/C duct.
18. Release temperature sensor and remove
evaporator.
19. Remove 2 Allen screws, remove TXV from
evaporator and discard ’O’ rings.
Parts & tools for this job Staging For Land Rover Defender
- TOOLA/C manifold gauge setSearch: AC manifold gauge set
- TOOLUV leak detection kitSearch: AC UV leak detection kit
- PARTCabin filterSearch: Land Rover Defender cabin filter
Links open Amazon search results in a new tab. As an Amazon Associate I earn from qualifying purchases.