
HEADLAMP MOUNTING PANEL
- Make
- Land Rover
- Model
- Defender TD5 Defender
- Section
- HEADLAMP MOUNTING PANEL
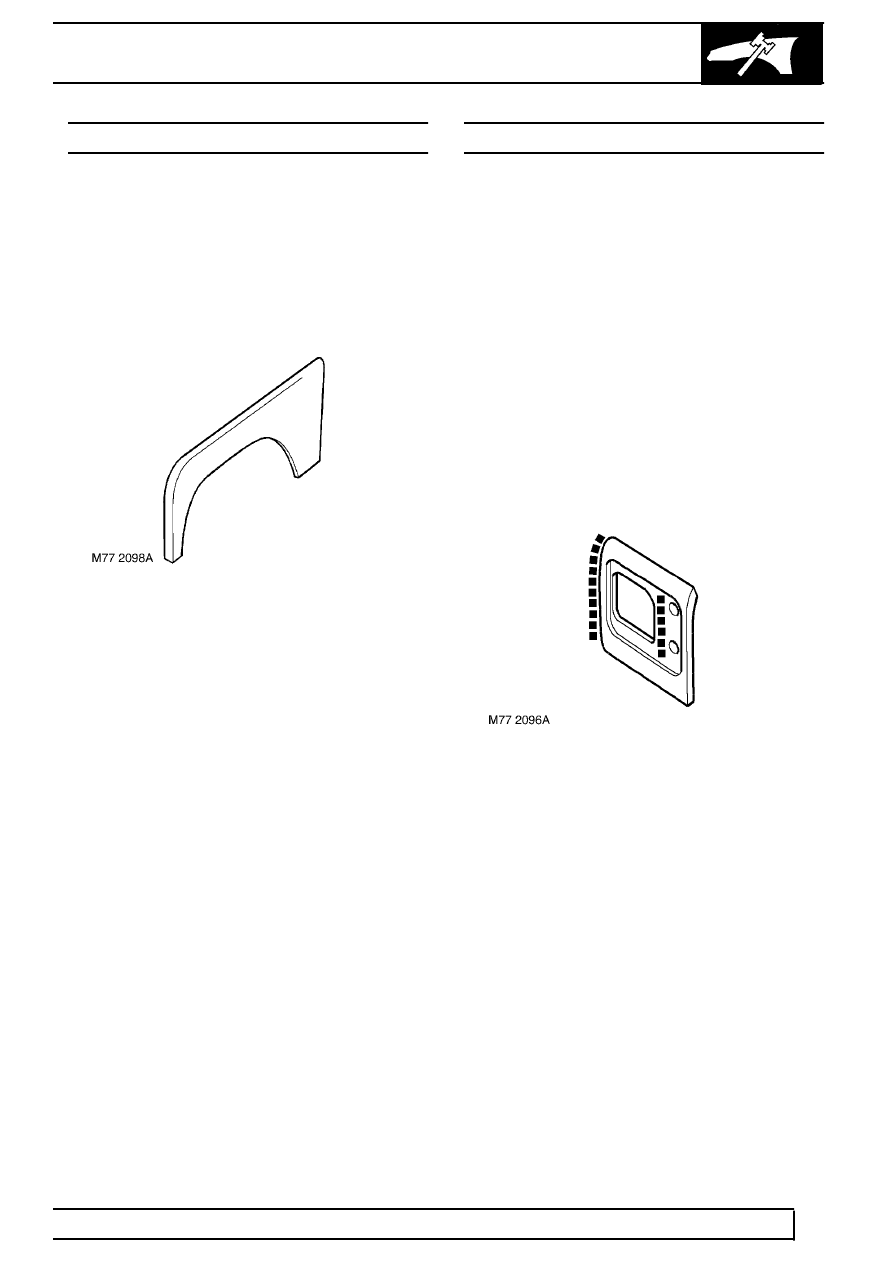
PANEL REPAIRS
1
REPAIR
WING LOWER FRONT
Remove
1. Disconnect both battery leads, negative lead
first. system.
2. Remove wheel arch eyebrow.
3. Remove wheel arch liner.
4. RH side: Remove aerial.
5. Remove air intake hose.
6. Remove bolts securing lower wing.
Refit
7. Prepare and clean panel joint faces.
8. Reverse removal procedure.
HEADLAMP MOUNTING PANEL
Remove
1. Disconnect both battery leads, negative lead
first.
2. Disconnect all ECUs.
3. Remove radiator. See COOLING SYSTEM,
Repair.
4. Recover refrigerant from A/C system. See AIR
CONDITIONING, Repair.
5. Remove headlamp. See ELECTRICAL,
Repair.
6. LH side: Remove screen washer bottle. See
WIPERS AND WASHERS, Repair.
7. RH side: Position PAS reservoir aside.
8. Remove bolts and release welds securing panel,
remove panel.
Refit
9. Prepare and clean panel joint faces. Punch or
drill holes in new panel for plug welding as
shown.
10. Reverse removal procedure.
Parts & tools for this job Staging For Land Rover Defender
- PARTReplacement bulbsSearch: Land Rover Defender bulbs
- TOOLDigital multimeterSearch: automotive digital multimeter
Links open Amazon search results in a new tab. As an Amazon Associate I earn from qualifying purchases.