
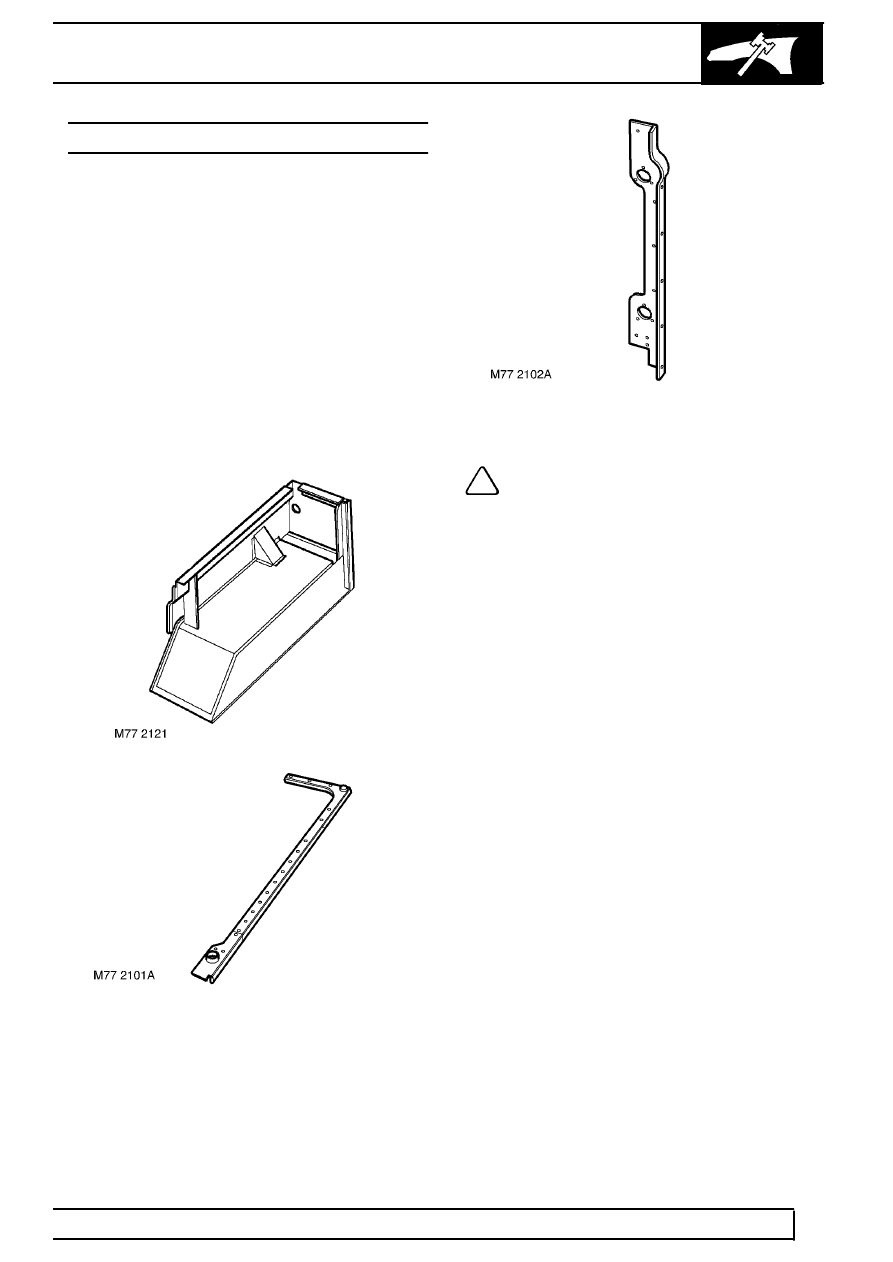
BODY SIDE REAR - LOWER - ASSEMBLY
- Make
- Land Rover
- Model
- Defender TD5 Defender
- Section
- BODY SIDE REAR - LOWER - ASSEMBLY
PANEL REPAIRSBODY SIDE REAR - LOWER - ASSEMBLY
PANEL REPAIRS
7
REPAIR
BODY SIDE REAR - LOWER - ASSEMBLY
In this procedure the Body Side Capping and the
Corner Capping are also changed.
Remove
1. Disconnect both battery leads, negative lead
first.
2. Remove body side upper rear. See this
Section.
3. Remove all rear lamps and reflectors.
4. LH side: Remove number plate and lamp.
5. LH side: Remove tail door striker.
6. RH side: Remove fuel filler and grommet.
7. Remove all bolts and rivets securing lower body
side assembly.
Refit
8. Prepare and clean panel joint faces.
9. Reverse removal procedure.
NOTE: When refitting, ensure body side
upper is correctly fitted onto location pins.
Parts & tools for this job Staging For Land Rover Defender
- TOOLTrim removal tool kitSearch: trim removal tool kit
- PARTTouch-up paintSearch: Land Rover touch up paint
- PARTPanel clip assortmentSearch: Land Rover panel clips assortment
Links open Amazon search results in a new tab. As an Amazon Associate I earn from qualifying purchases.