
CAMSHAFT (page 2 of 2)
- Make
- Land Rover
- Model
- Defender TD5 Defender
12
ENGINE
2
REPAIR
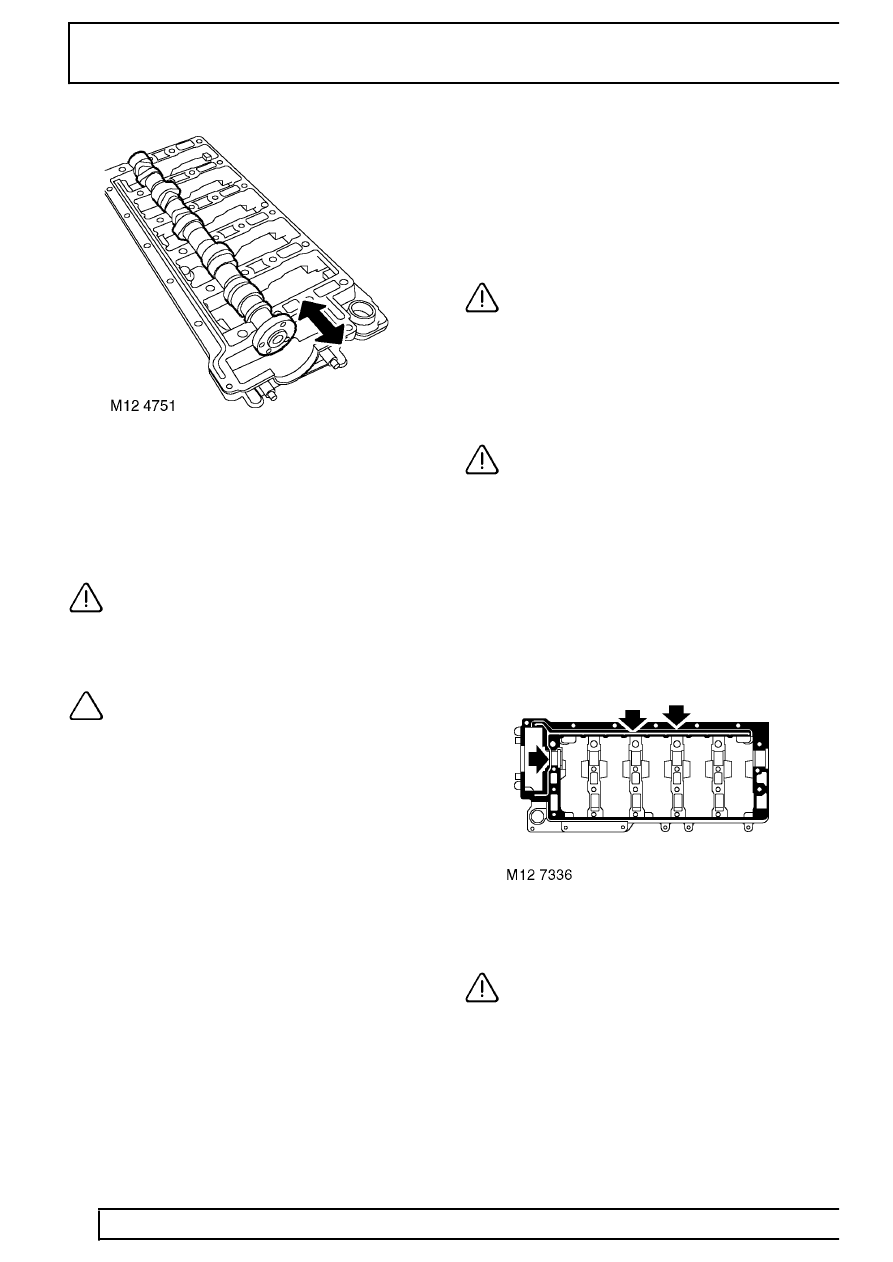
13. Position camshaft in camshaft carrier.
14. Check end-float of camshaft using a DTI.
Camshaft end-float = 0.06 to 0.16 mm (0.002 to
0.006in).
15. Renew components as necessary to achieve
correct end-float.
CAUTION: Cylinder head and camshaft
carrier are machined together as an
assembly. If bearing surfaces in either
component are found to be damaged, complete
assembly must be replaced.
NOTE: The procedure for checking
camshaft bearing clearances is covered in
Td5 Engine Overhaul section - Cylinder
head - overhaul.
Refit
16. Using a suitable cleaning solvent, clean mating
faces of cylinder head and camshaft carrier.
17. Blow out all oilways and waterways.
18. Ensure threaded holes in cylinder head and
camshaft carrier are clean and dry.
CAUTION: Support each end of the
cylinder head on blocks of wood. With
camshaft carrier bolted down some valves
and the injector nozzles will protrude from the
face of cylinder head.
19. Fit new adjusting screws fully into rocker arms.
Fit new lock nuts to screws but do tighten.
CAUTION: Ensure screws are correct for
type of rocker arms fitted. Replacement
screws for Engine Serial No. Prefixes 15P
to 19P have a centre punch mark adjacent to the
adjusting screw slot. These screws are not
interchangeable with those fitted to Engine Serial
No. Prefixes 10P to 14P.
20. Lubricate cams and bearing journals on
camshaft, cylinder head and camshaft carrier
with clean engine oil.
21. Position camshaft in cylinder head with the
timing pin hole in the vertical position.
22. Apply an even film of sealant, Part No. STC
4600 to camshaft carrier face as shown and
spread to an even film using a roller.
CAUTION: Ensure sealant does not block
oilways (arrowed) or contaminate
camshaft bearings. Assembly and bolt
tightening must be completed within 20 minutes
of applying sealant.
23. Fit camshaft carrier ensuring that it is correctly
located on dowels.
24. Fit and lightly tighten camshaft carrier bolts.
Parts & tools for this job Staging For Land Rover Defender
- PARTEngine gasket setSearch: Land Rover Defender engine gasket set
- TOOLTorque wrenchSearch: 3/8 inch torque wrench
- TOOLFeeler gauge setSearch: feeler gauge set
Links open Amazon search results in a new tab. As an Amazon Associate I earn from qualifying purchases.