
Battery drip tray/support - r.r.
- Make
- Alfa Romeo
- Model
- GT Factory Service Manual
- Year
- 2003–2010
- Section
- Current generator › Battery drip tray/support - r.r.
BATTERY DRIP TRAY/SUPPORT - R.R.
Removing
Proceed with removal
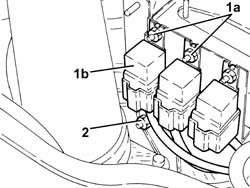
1. Undo the bolts (1a) and move the relays (1b) away from the battery drip tray.
2. Undo the nut fixing the air filter to the battery drip tray.
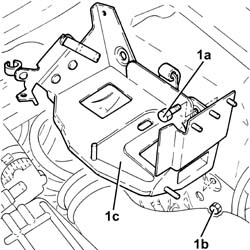
1. Undo the bolts (1a), slacken the bolt (1b) and remove the battery drip tray (1c).
Refitting
Refit the battery cage in its seating and fix it with its bolts.
Tighten the nuts fixing the air filter to the battery drip tray.
Replace the relays in their seats on the battery case and secure with nuts.
Proceed with refitting
Removing
Proceed with removal
Op. 1048A59 PIPE from flow meter to throttle casing hose - R.R.
Refitting
Refit the battery cage in its seating and fix it with its bolts.
Secure the electrical wiring to the fastenings ont the battery drip tray.
Tighten the nuts fixing the air filter to the battery drip tray.
Place the engine compartment junction unit casing mounting in its housing and secure it using the nuts.
Place the engine compartment junction unit casing in its housing and fasten it using the nut.
Place the plug back in position.
Place the engine compartment junction unit in its housing securing it to the hinges.
Connect the electrical connection to the engine compartment junction unit and rotate it in its housing.
Place the engine compartment junction unit cover in position.
Proceed with the refitting
Proceed with removal
Op. 1048A59 PIPE from flow meter to throttle casing hose - R.R..
Proceed with removal
1. Remove the cover for the junction unit in the engine compartment.
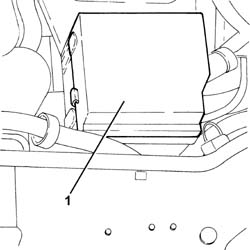
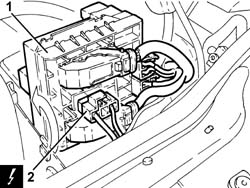
1. Rotate the engine compartment junction unit.
2. Disconnect the electrical connection from the engine compartment junction unit.
| Name | Connector | |
|---|---|---|
| 2 | Engine compartment junction unit | See B1E ENGINE COMPARTMENT JUNCTION UNIT ( CROSSMEMBER ) |
Release the engine compartment junction unit from the hinges and move it to the side.
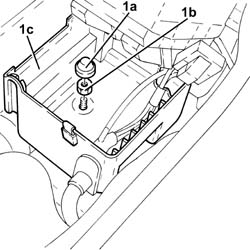
1. Remove the plug (1a), undo the nut (1b) and remove the engine compartment junction unit casing (1c) to the side.
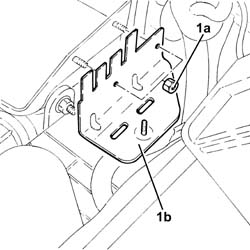
1. Undo the nuts (1a) and remove the engine compartment junction unit casing support (1b).
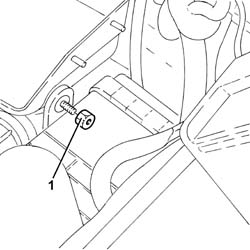
1. Undo the nut fixing the air filter to the battery drip tray.
Release the electrical wiring from the fastenings on the battery drip tray.
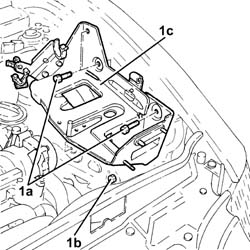
1. Undo the bolts (1a), slacken the bolt (1b) and remove the battery drip tray (1c).
Parts & tools for this job Staging For 2003 Alfa Romeo GT
- TOOLBattery testerSearch: car battery tester
- TOOLDigital multimeterSearch: automotive digital multimeter
- TOOLBattery terminal cleanerSearch: battery terminal cleaner
Links open Amazon search results in a new tab. As an Amazon Associate I earn from qualifying purchases.